Homemade Hand Sanitizer
/
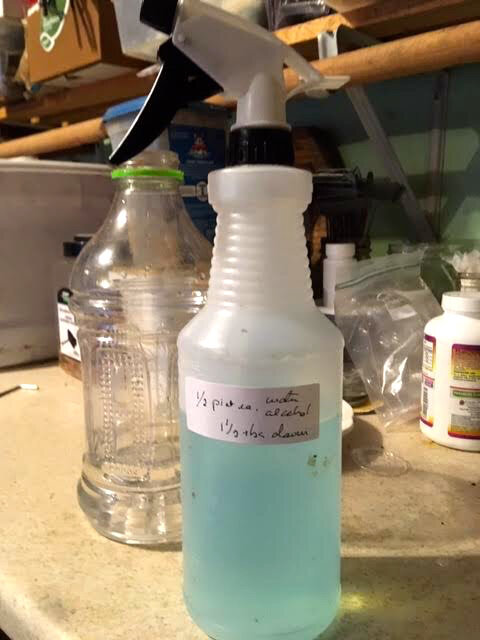
Reuse hand dispenser by filing with aloe vera gel and rubbing alcohol. (Photo by Charlotte Ekker Wiggins)
Homemade Hand Sanitizer
With hand sanitizers selling out in major US cities due to Coronavirus concerns, here is how you can make a homemade hand sanitizer you can have available all year.
The U.S. Centers for Disease Control and Prevention advise frequent hand-washing with either soap and water or an alcohol-based hand sanitizer will guard against the virus.
"Our hands and fingertips carry the infection, so if we use hand sanitizer that will pretty much control the disease," Dr. Sanjay Maggirwar, a professor of microbiology at George Washington University, told CBS MoneyWatch.
Homemade Hand Sanitizer Recipe via CBS News March 6, 2020
2/3 cup 60% or higher rubbing alcohol
1/3 cup aloe vera gel
Optional: 8-10 drops essential oil for scent only to cover alcohol smell.
How to Use Homemade Hand Sanitizer
Wash out a liquid soap or hand sanitizer bottle.
Fill with your homemade hand sanitizer.
Squirt on hands to clean.
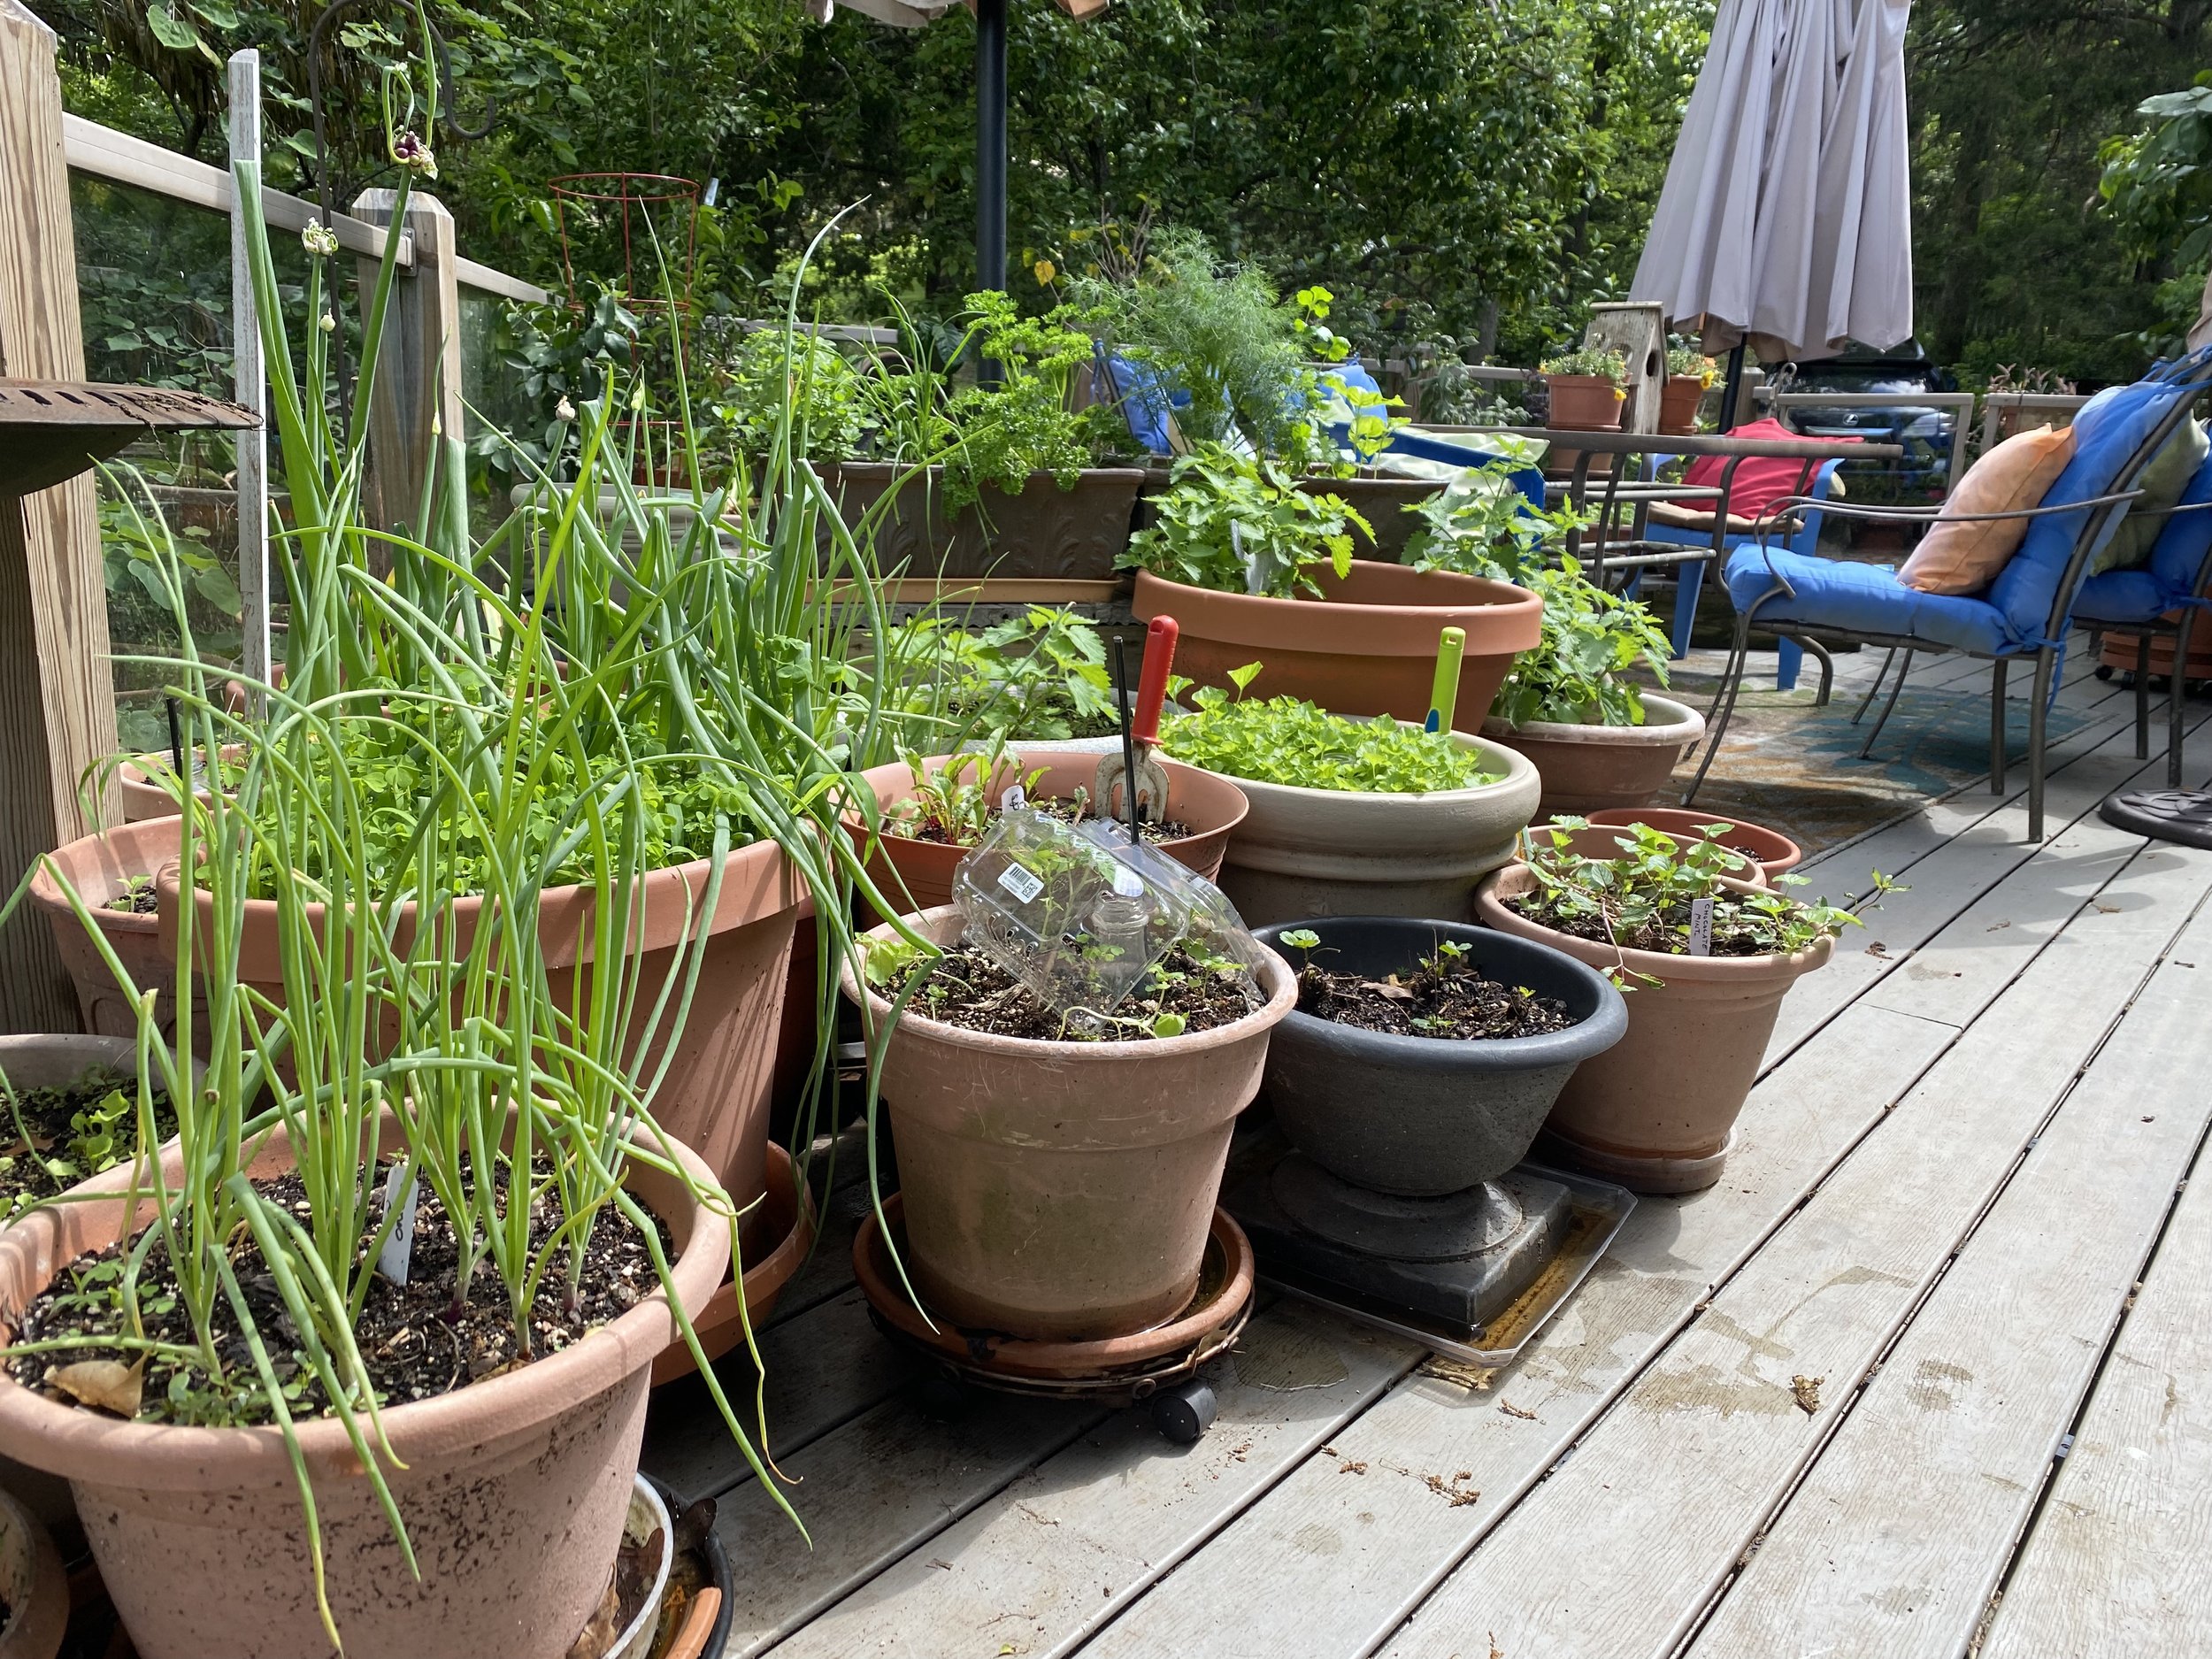
I keep aloe vera gel in my gardening bucket for minor stings and scratches. I just used my aloe vera after cleaning out my herb garden.
I also keep 70% rubbing alcohol to sanitize my beekeeping tools.
Wash Your Hands Well
Washing your hands with soap, cleaning under nails and between fingers for 20 seconds will also work.
If you are a gardener, you already know how well to clean hands after a long day in the garden!
Charlotte