Cattle Panel Arbors
/
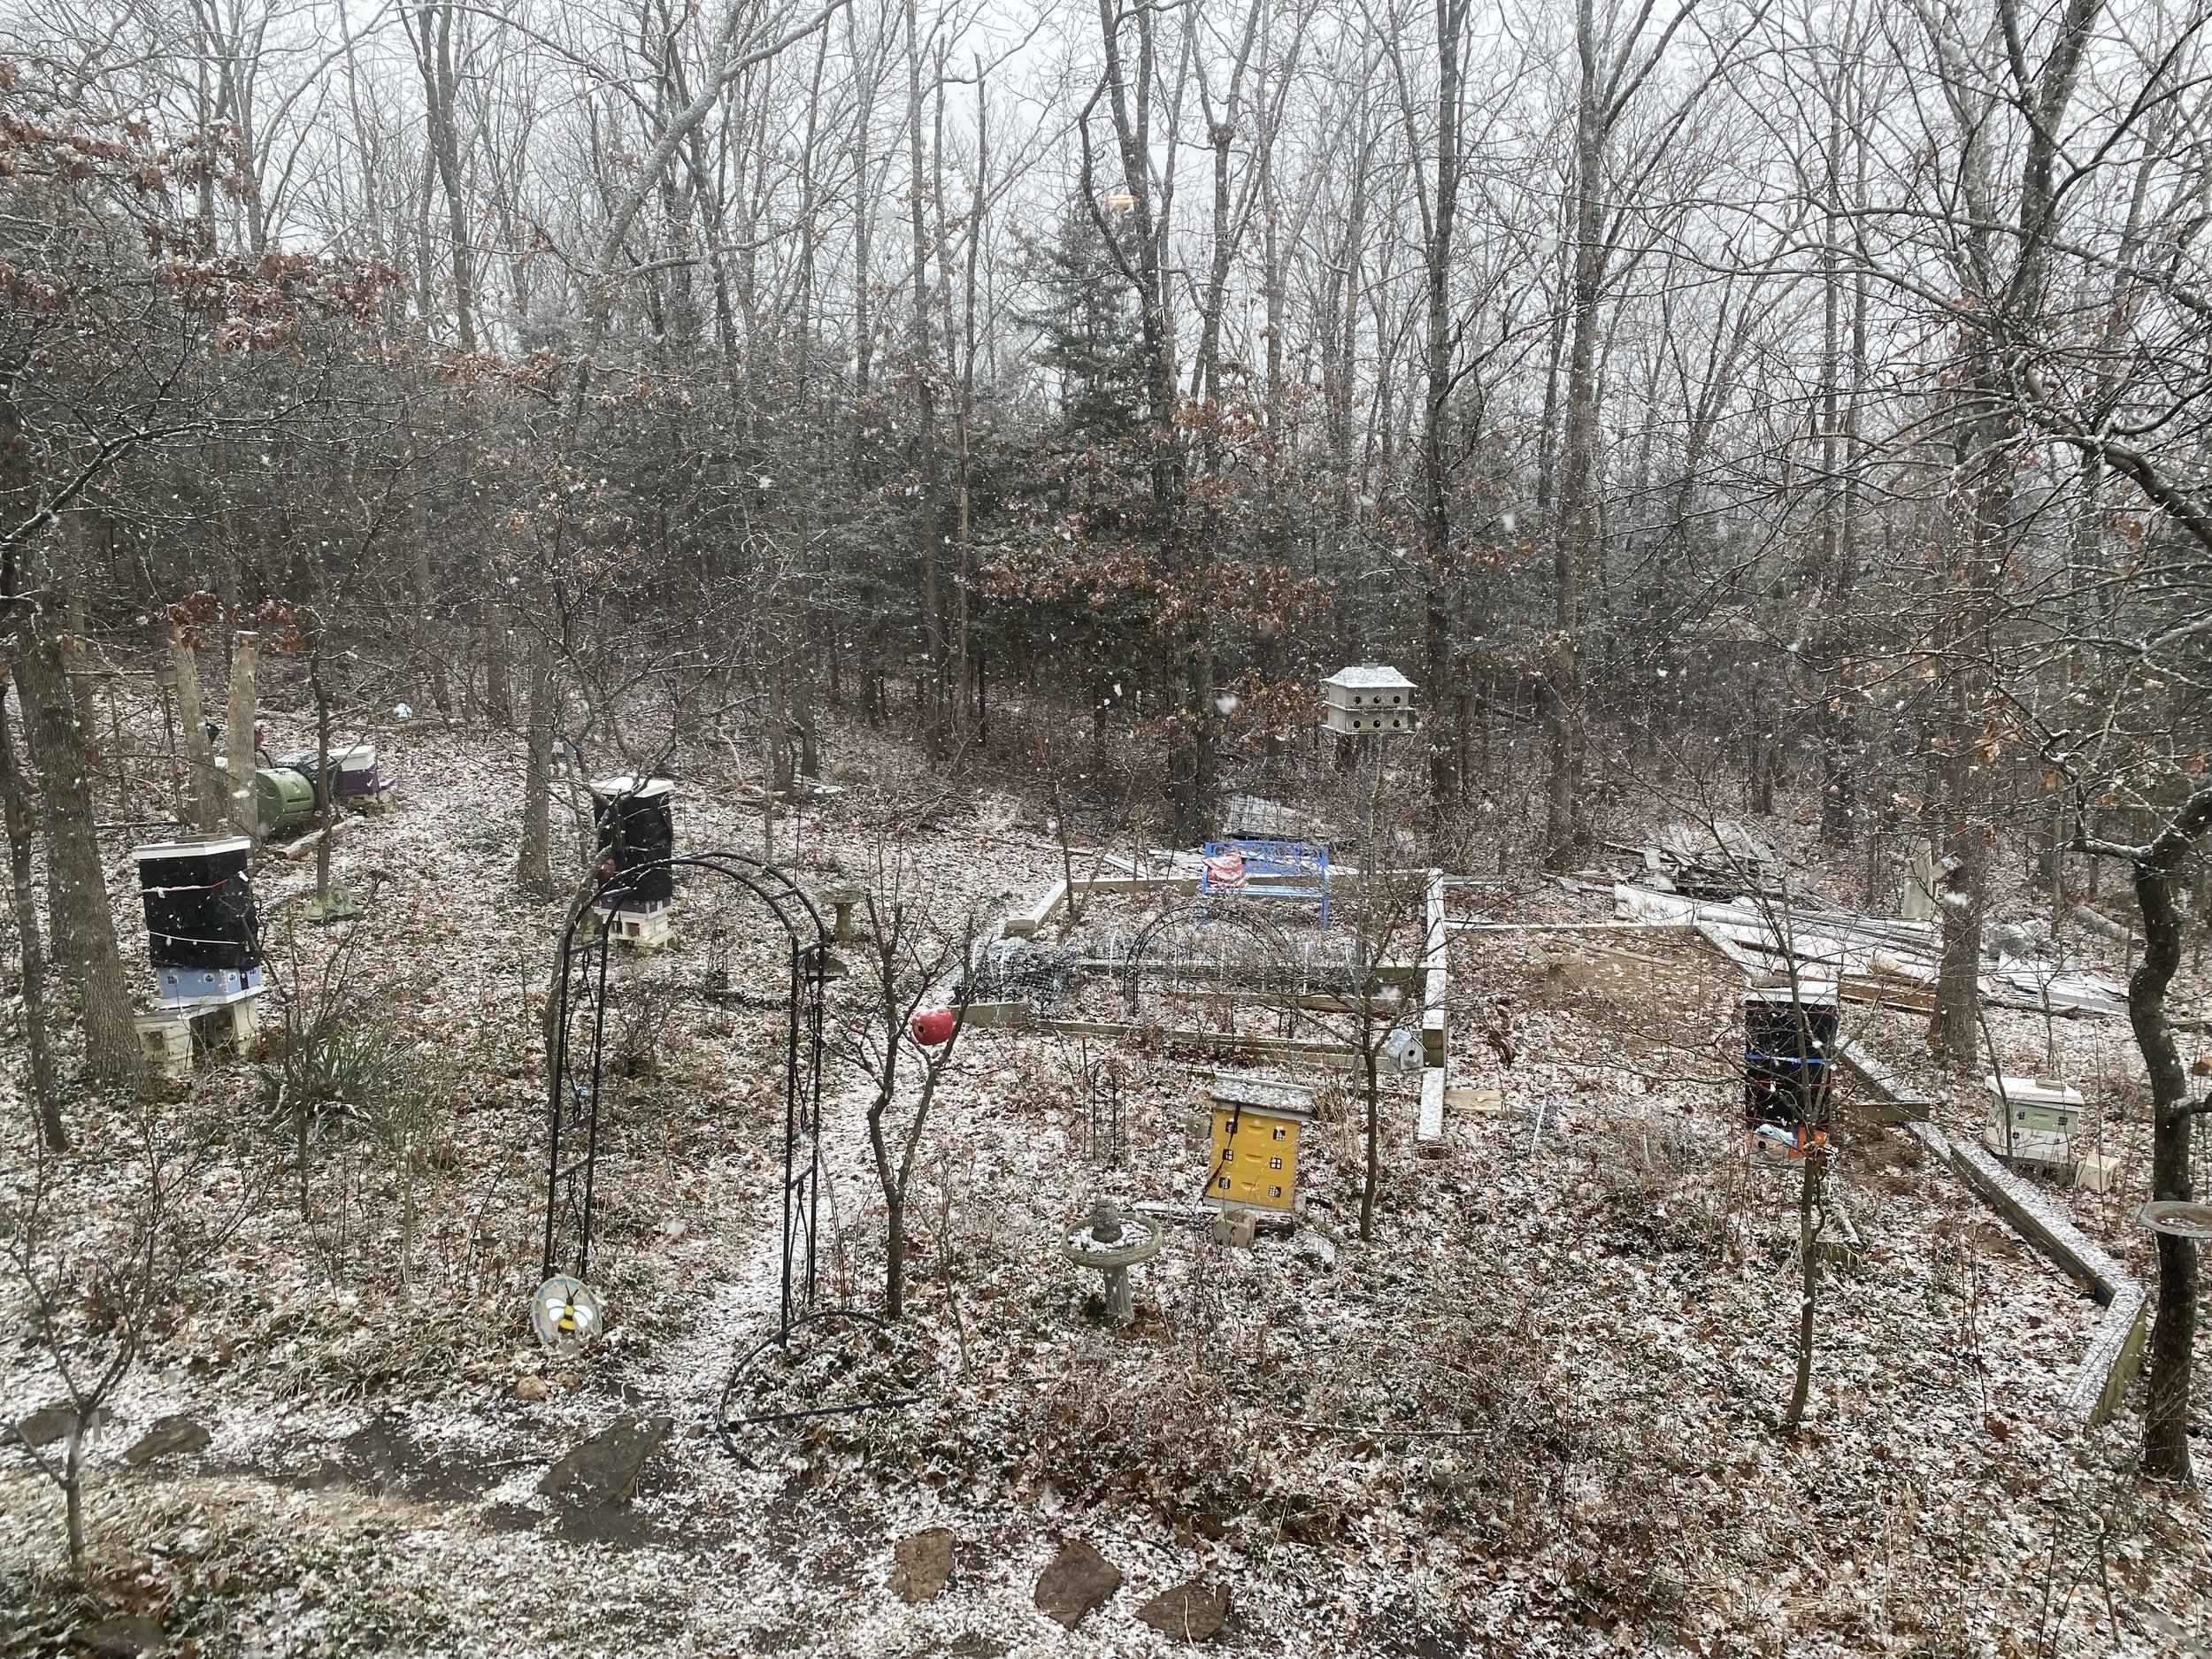
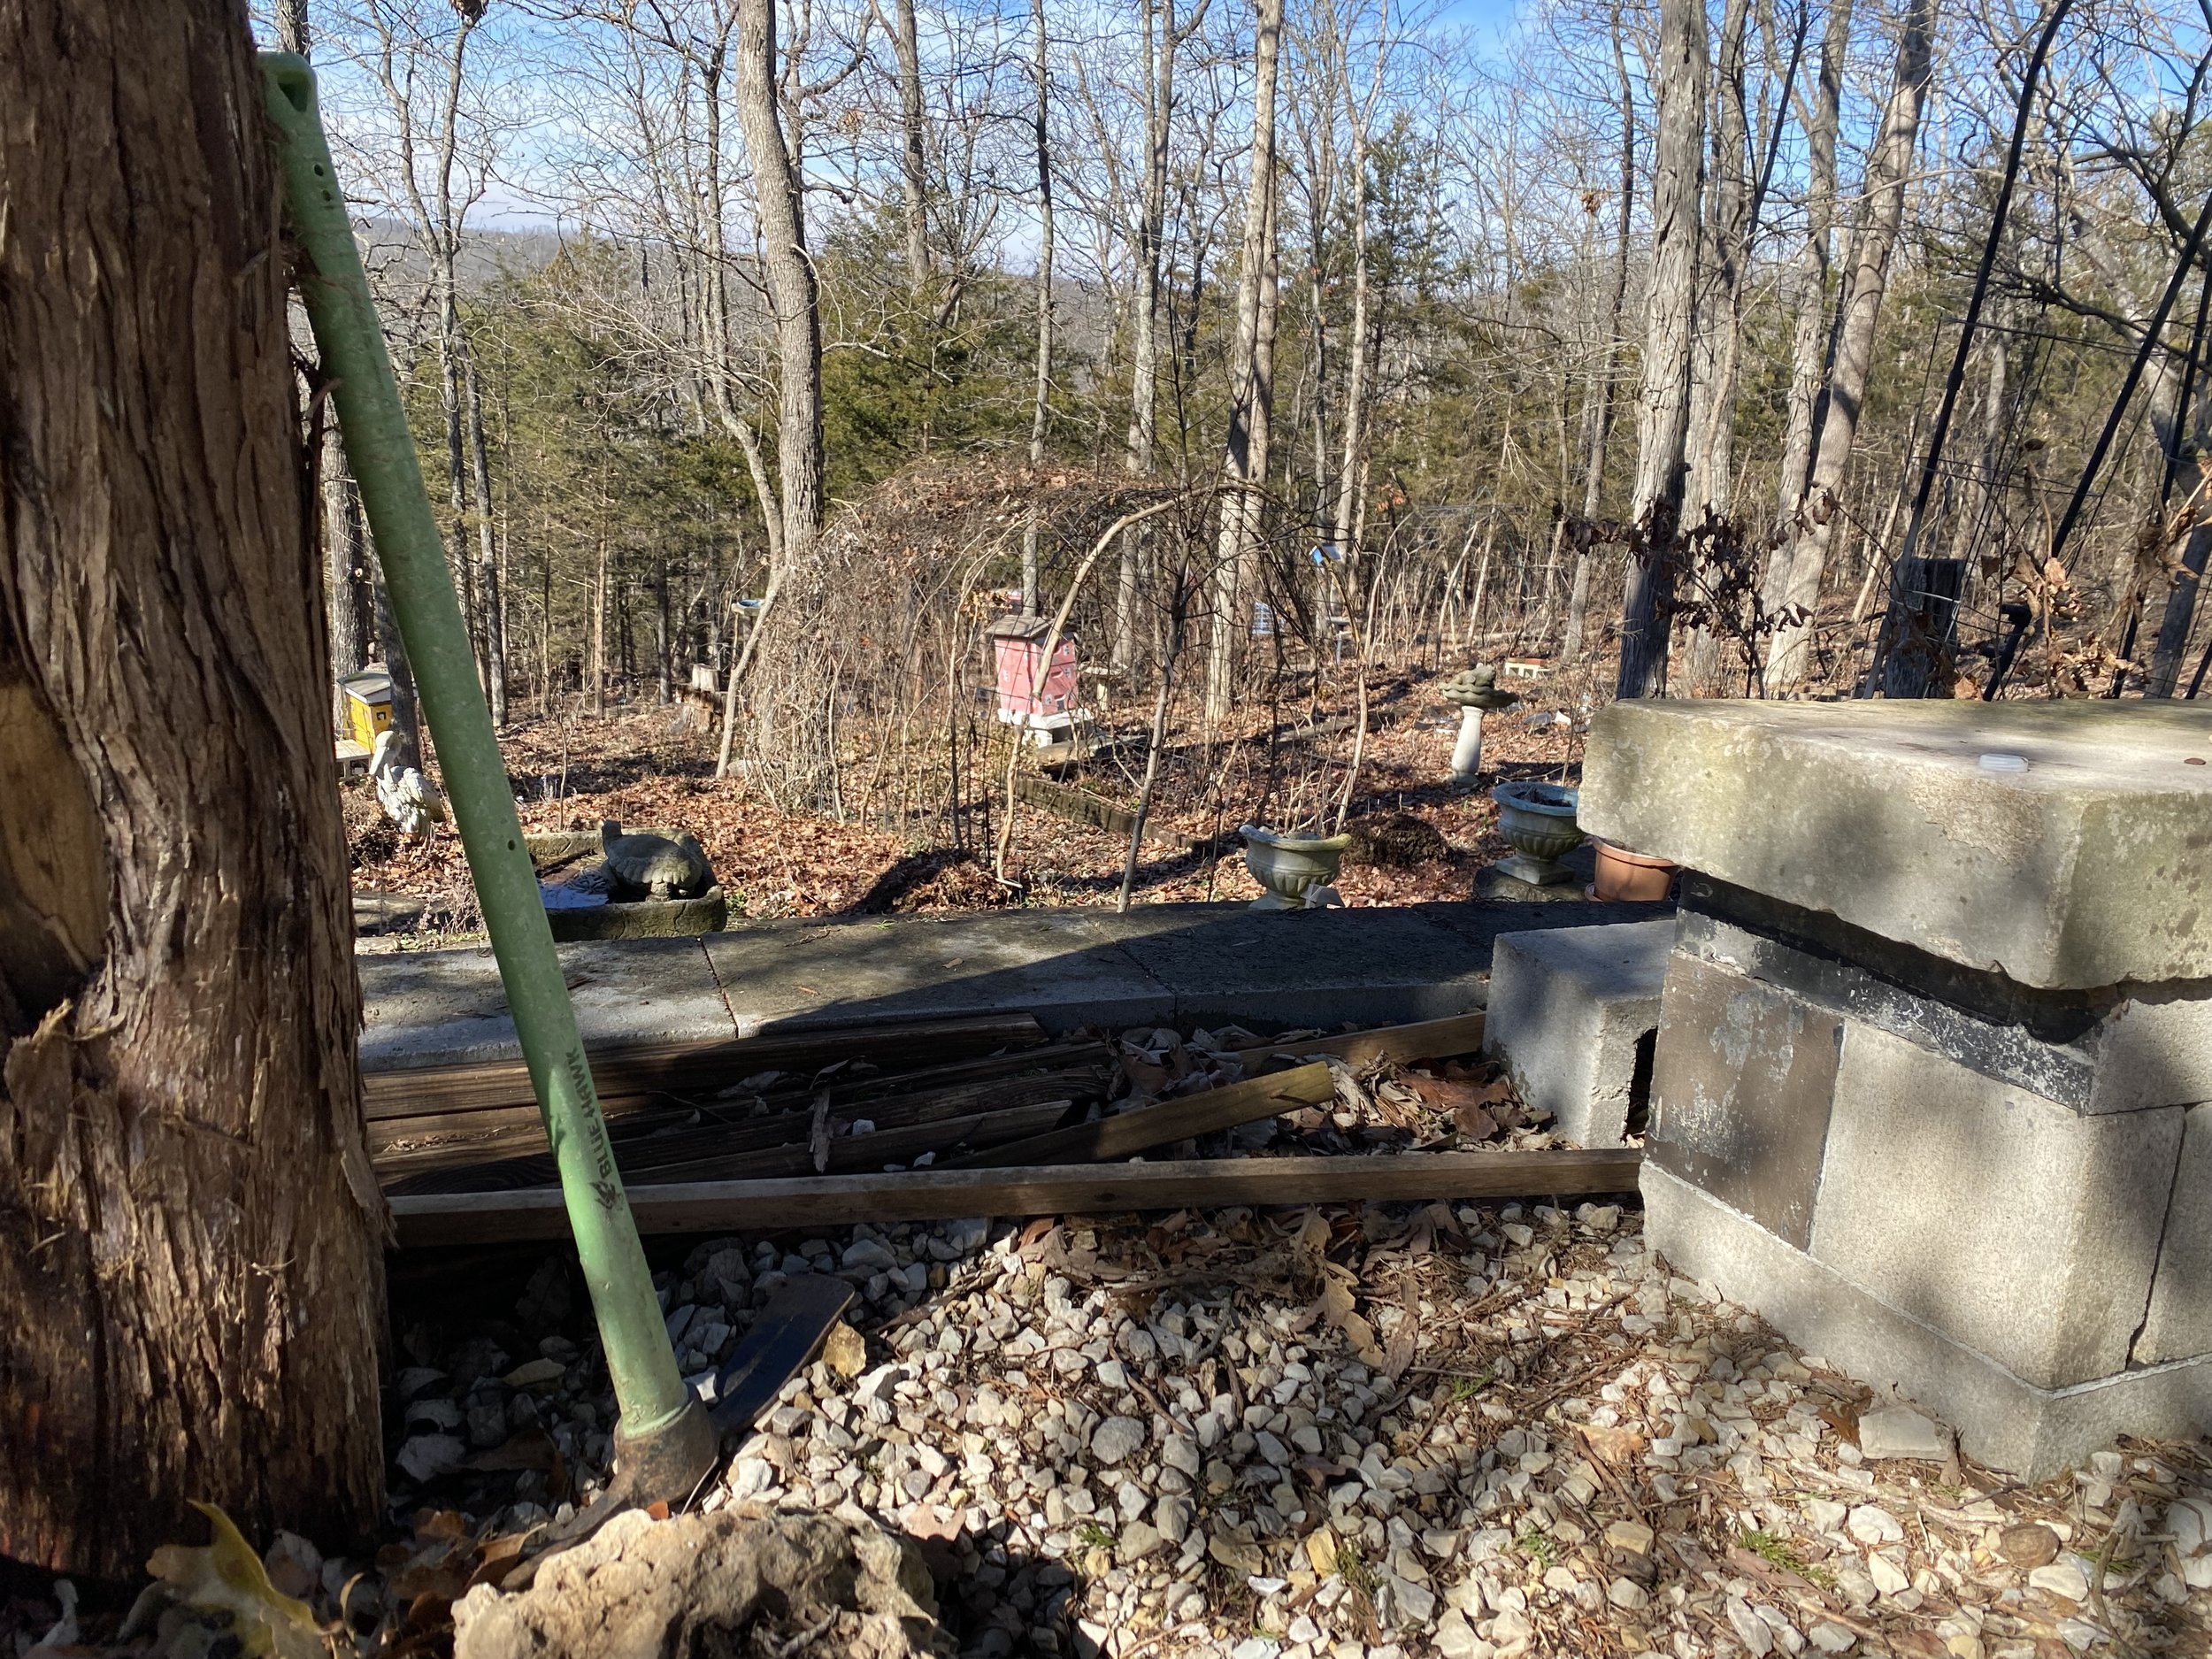
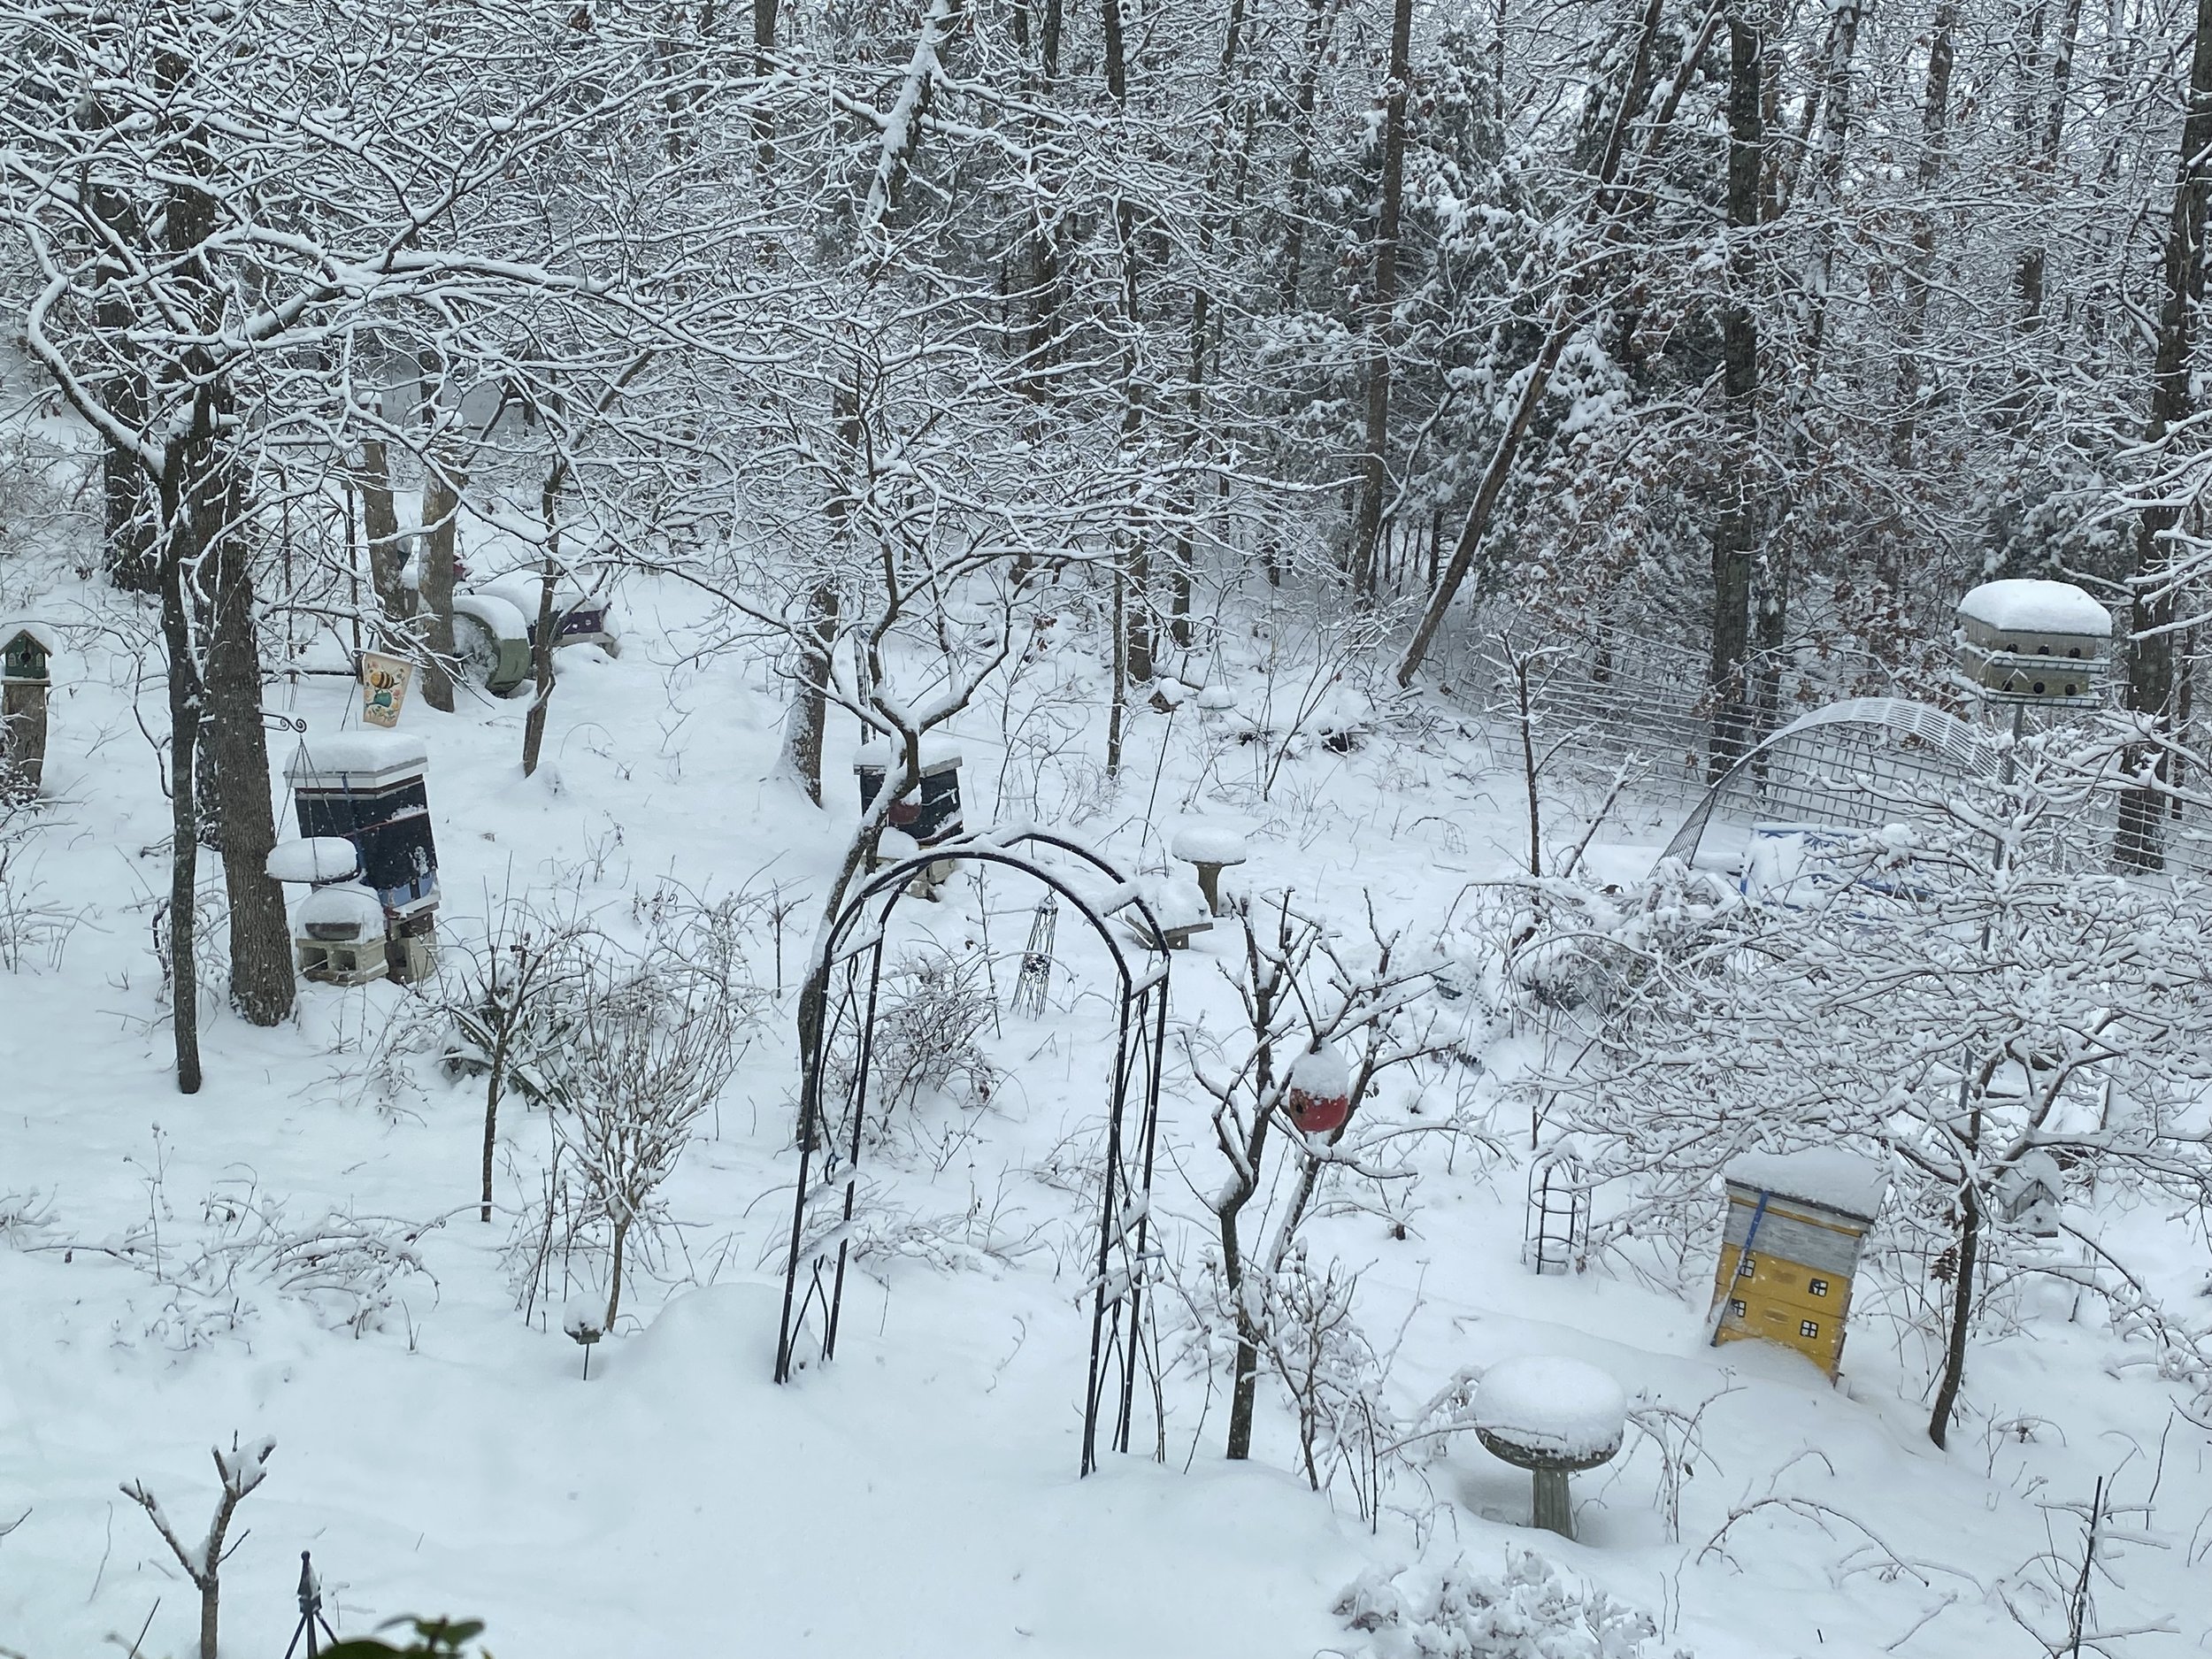
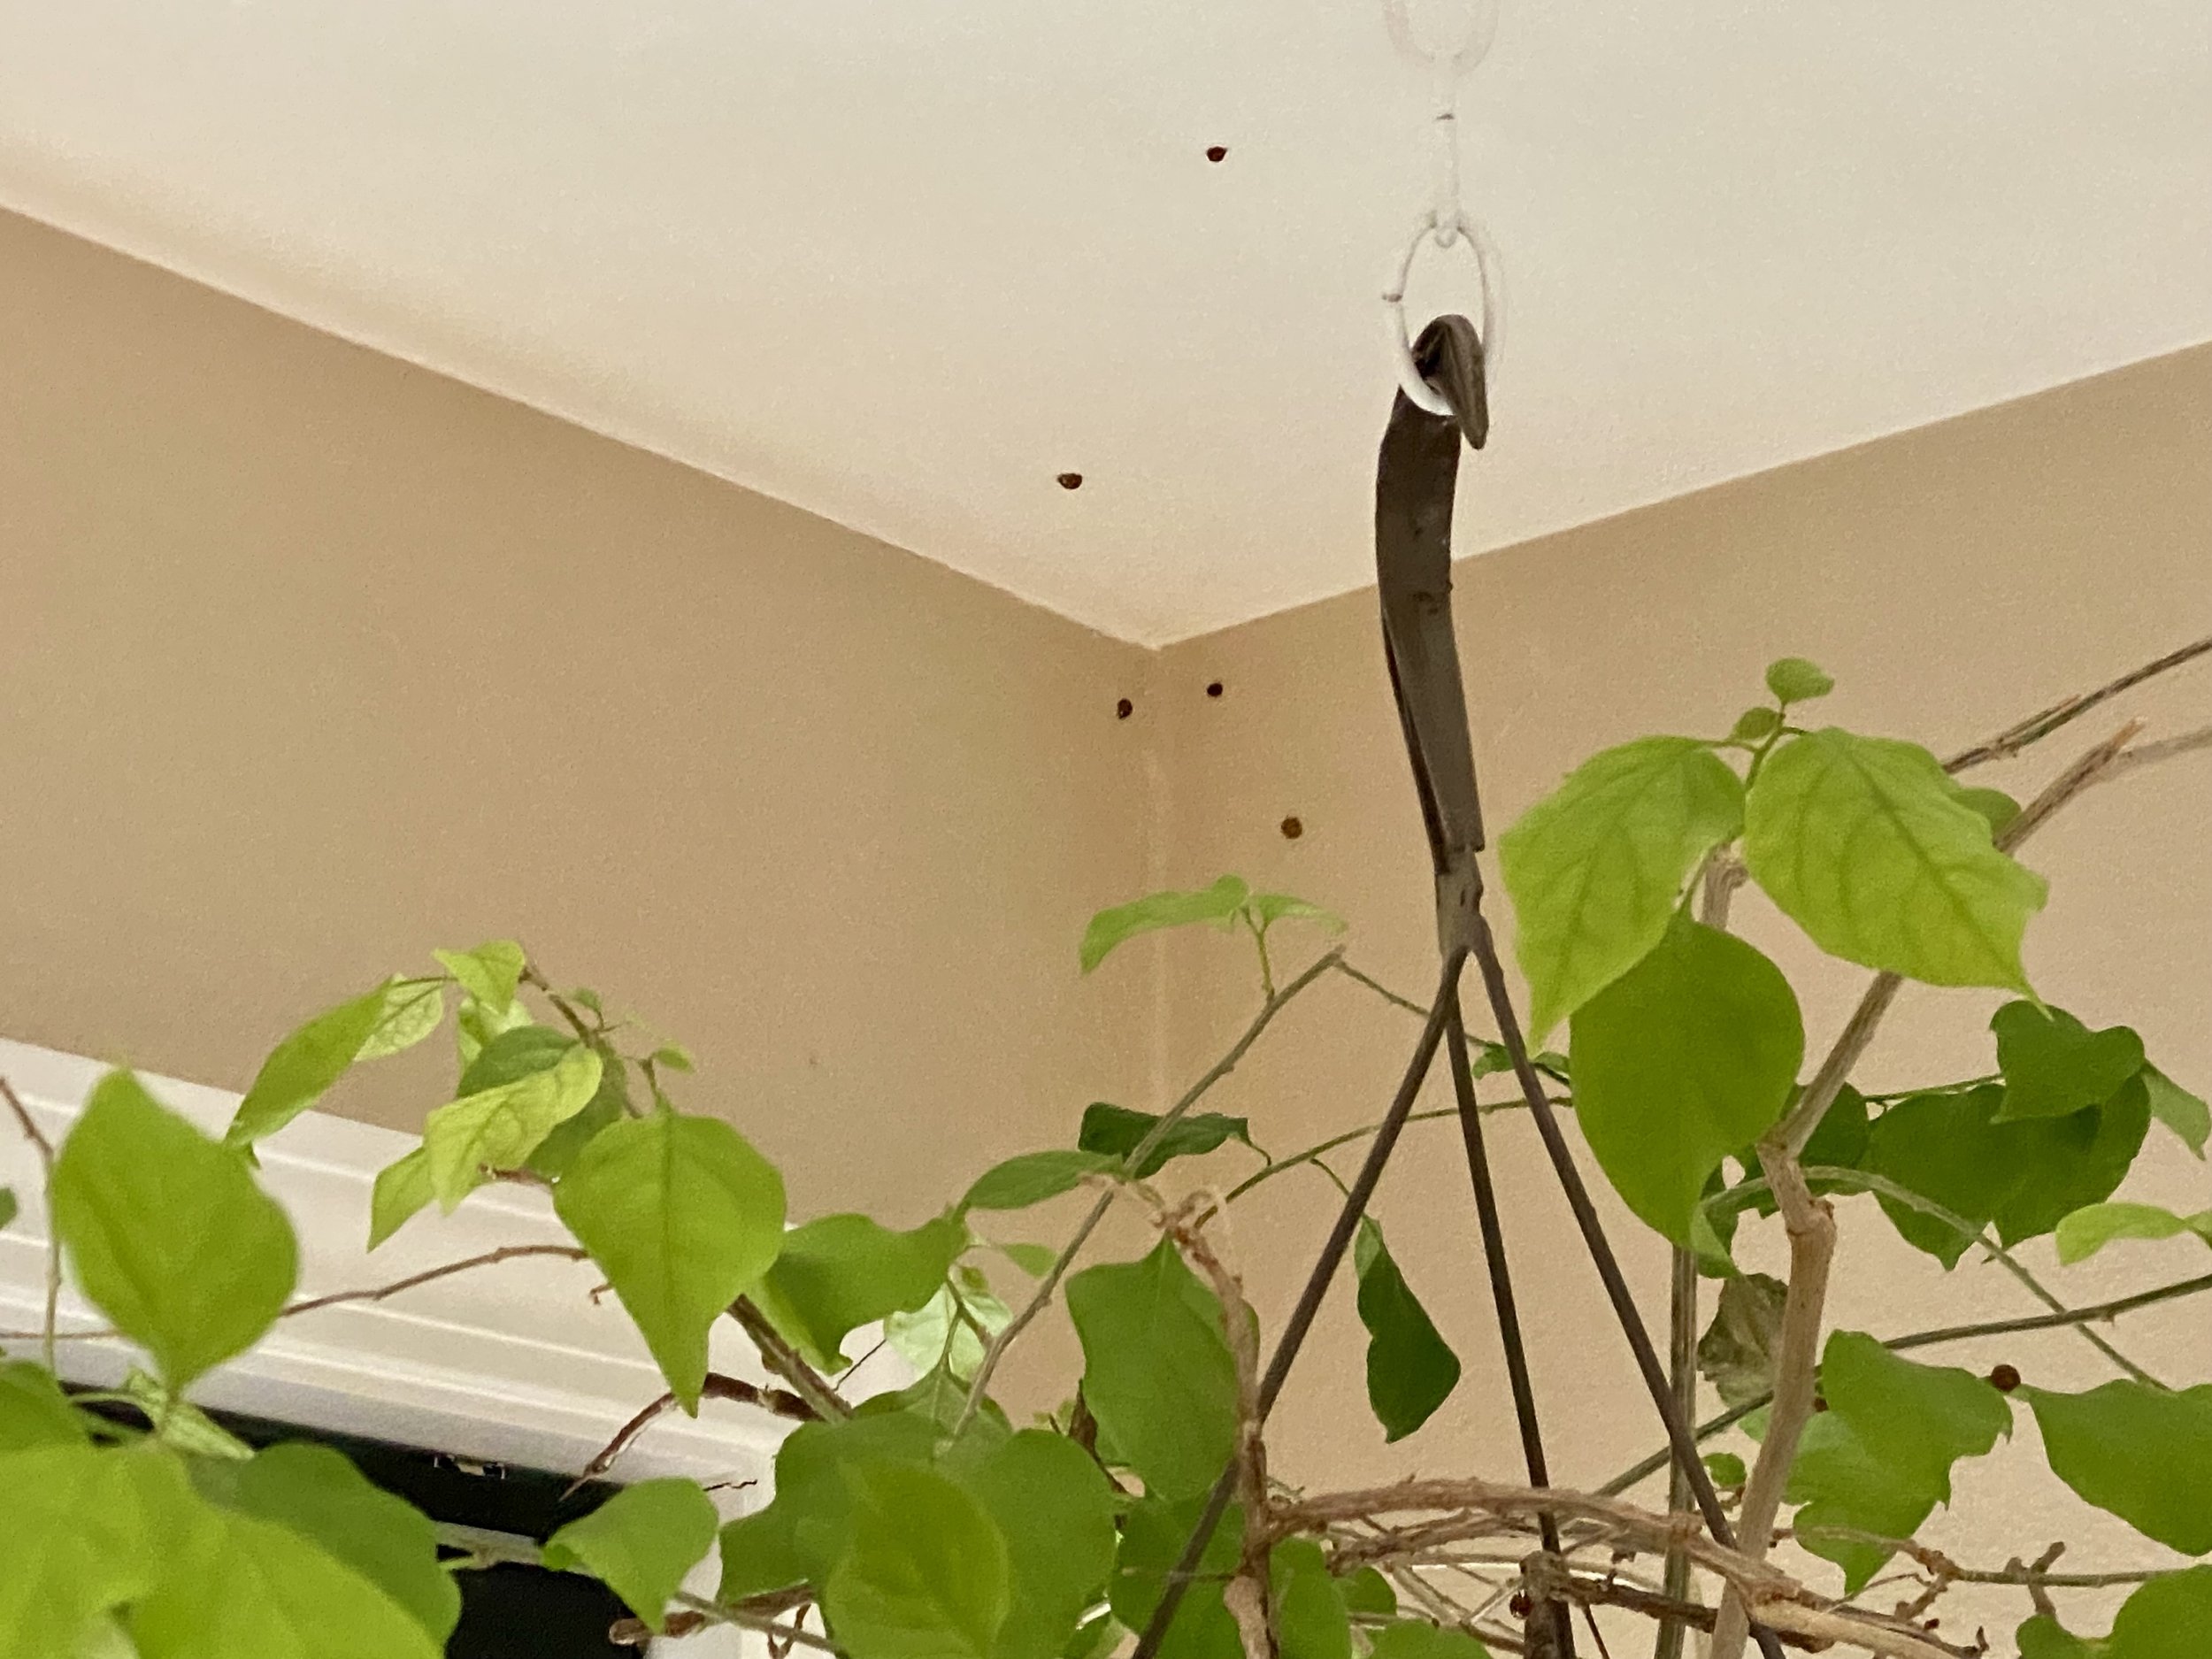
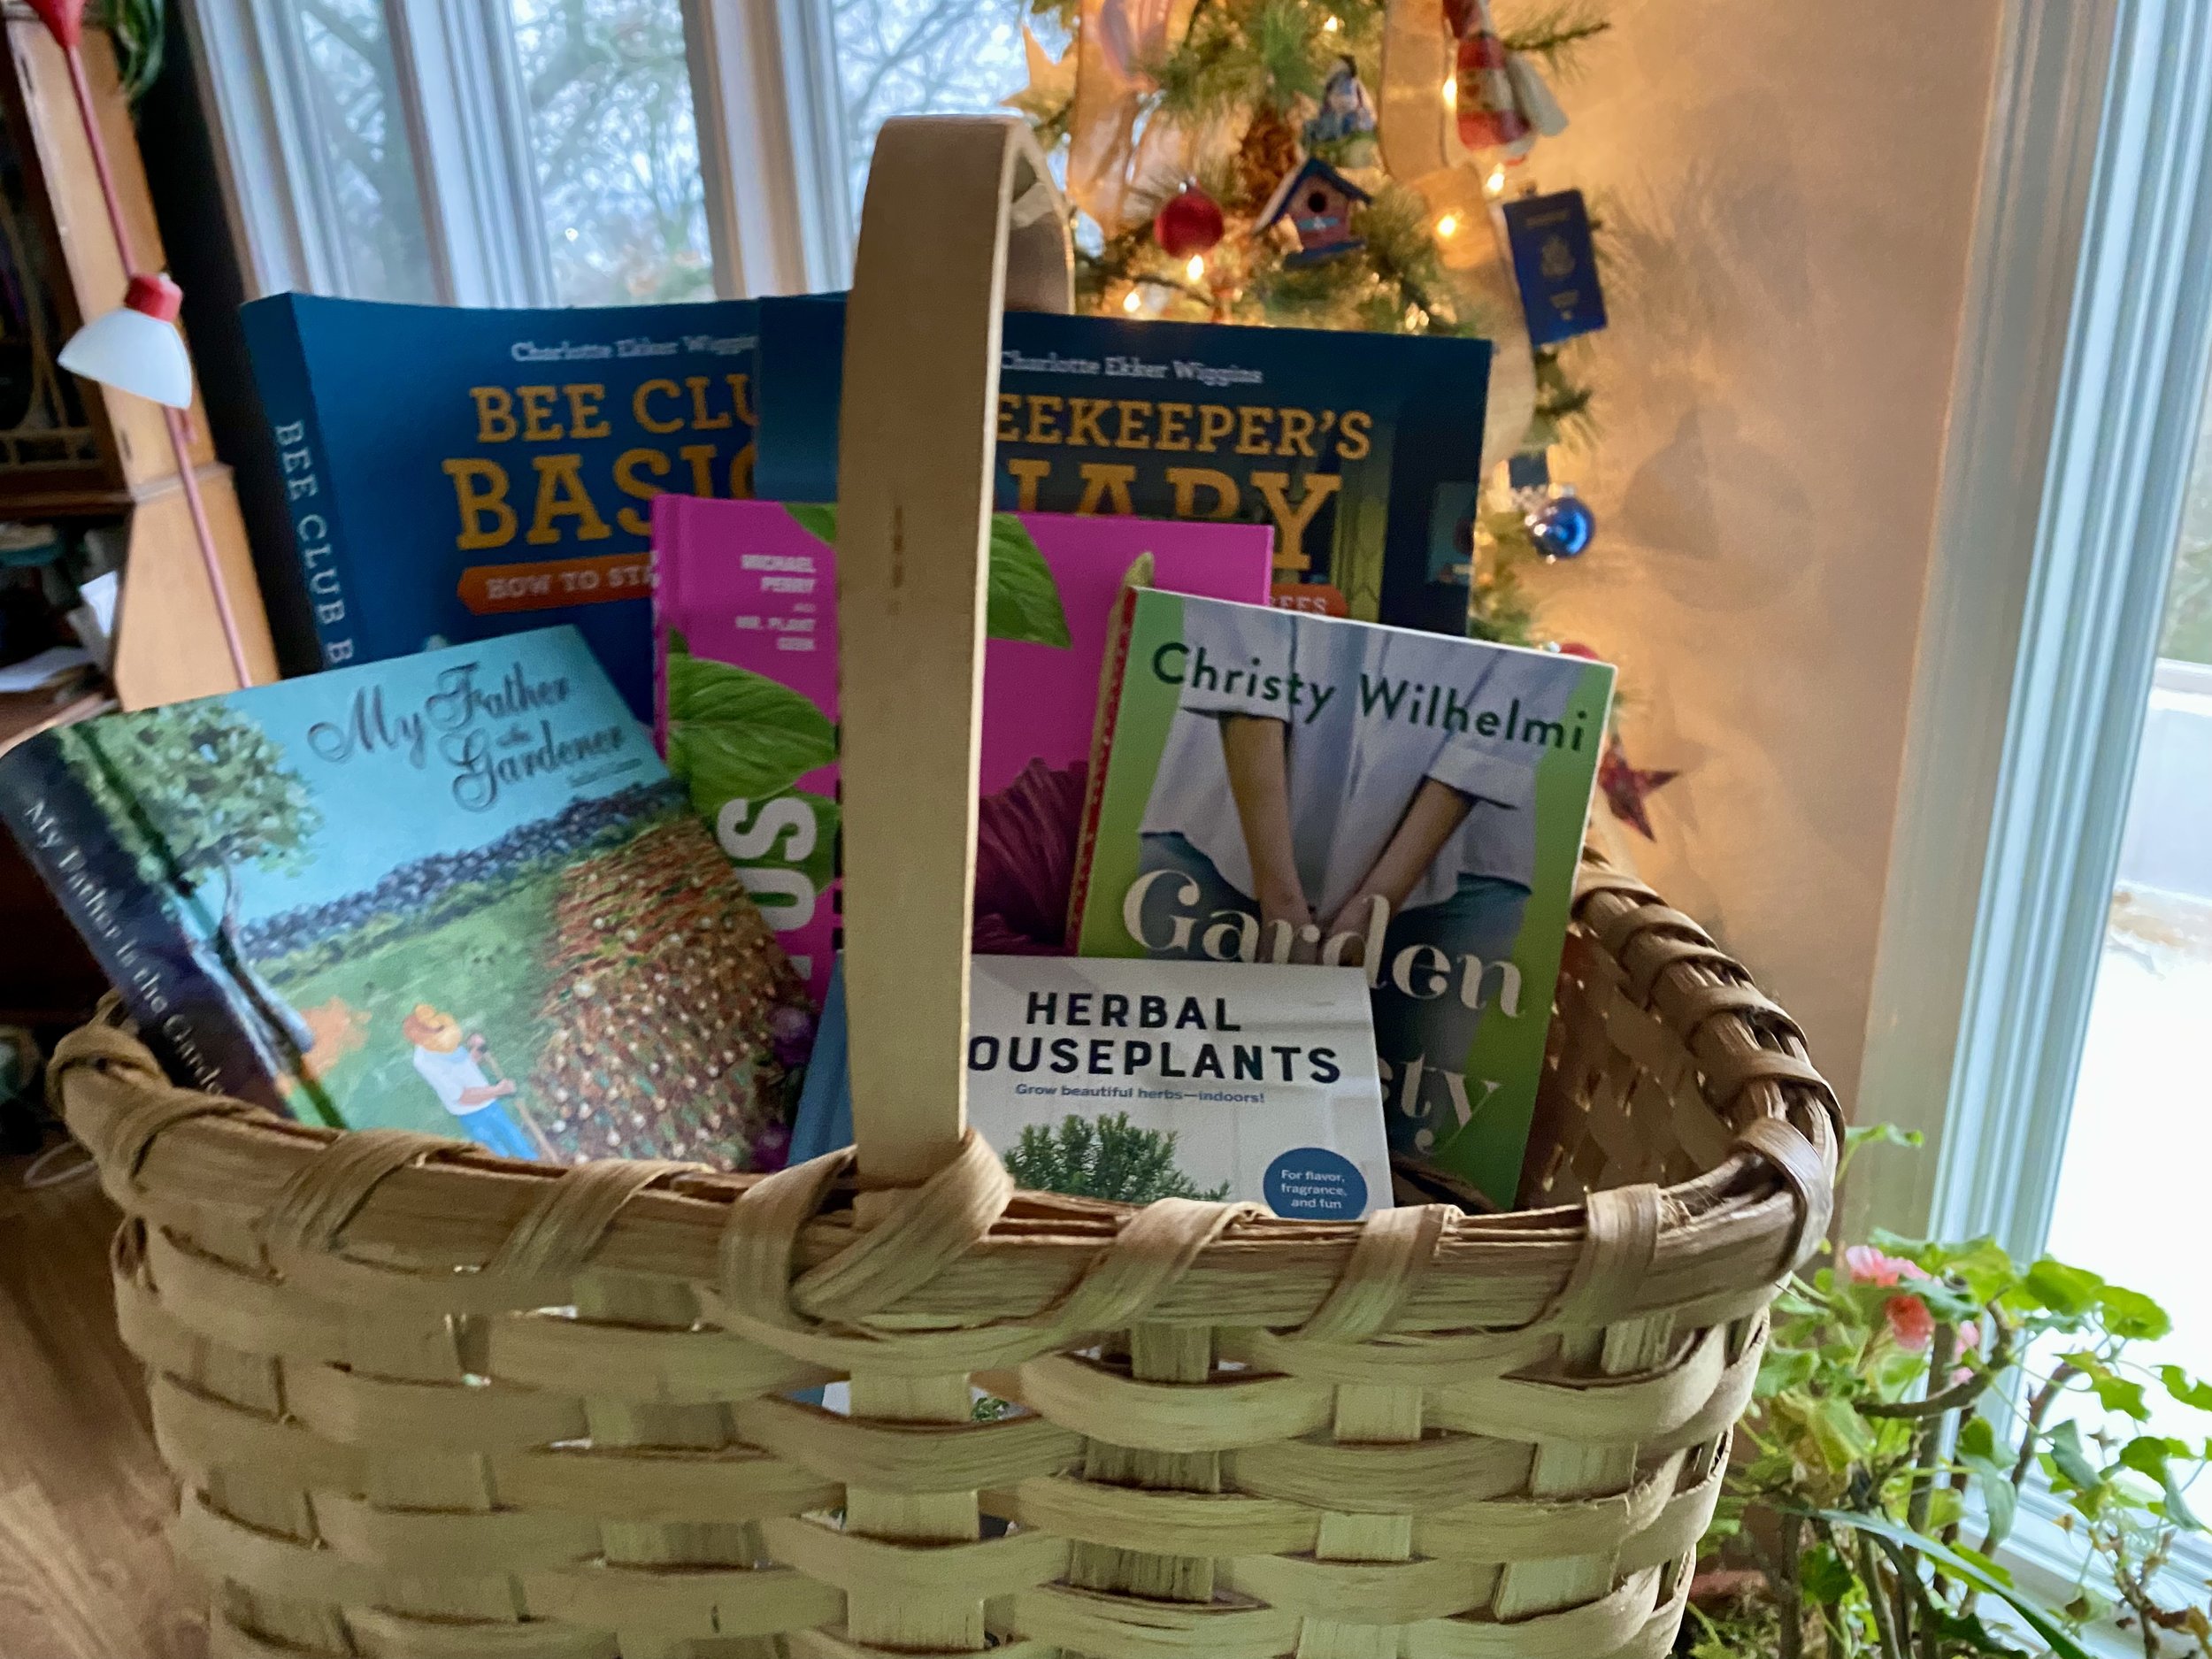
purple and autumn clematis grow over these two cattle panel arbors going into my norther apiary. (charlotte ekker wiggins photo)
Cattle Panel Arbors
If you live in a rural farming part of the country, you may have seen these as you drive by. They’re common at least where I live in mid-Missouri, sometimes welcoming visitors to a property or as an addition to a garden area. These are cattle panel arbors, an inexpensive way to have garden arches for climbing plants such as beans, roses and my favorite, cucumbers.
There are two possible sizes. The cattle panel size is 50 inches x 16 feet, and hog panels, which are more narrow at 34 inches by 16 feet. Getting them home may be a challenge unless you have someone with a truck who can lend a hand.
Also, trying to wrangle either one can feel like wrestling an octopus so something you can add to your bragging rights list!
How to Install Cattle Panel Arbors
You will need:
Cattle panel (16-foot is common)
T-posts or U-posts (4–6 feet tall, at least 2, preferably 4 for extra stability)
T-post driver or hammer
Zip ties or U-bolts
Measuring tape
Helper (recommended for bending the panel but not required)
Steps to Install:
Choose a Location
Pick a spot where you want the arbor, ensuring enough space for plant growth and walking clearance underneath.
If you have raised beds, you can use the raised beds to anchor the cattle panels on either side.
Measure and Mark Placement
Determine the width of your arbor (typically 3–6 feet).
Mark where the T-posts will go on both sides of the arbor.
Install T-Posts or U-Posts
Using a T-post driver, pound posts into the ground about 1–2 feet deep for stability.
Place posts 2–4 feet apart (adjust depending on the arch width).
Position the Cattle Panel
Lay the panel flat on the ground.
With a helper, lift one end and start bending the panel into an arch shape. Don’t be fooled, this is harder than it sounds. Make sure you both have a firm grip and won’t let go or the other one could end up catapulting over the panel.
If you don’t have a helper, use a thick rope tied to one end. Thread it through the other end and slowly pull the rope until the panel is bent to the width you need. Tie the rope off before moving the panel.
Attach the Panel to the Posts
Secure one side of the panel to the posts using zip ties, U-bolts, or wire.
Ensure the panel is evenly curved before securing the other side.
Adjust for stability, tightening connections as needed.
Check Stability
Wiggle the structure slightly to ensure it’s firm.
Add additional ties or posts if necessary.
Optional: Anchor the Base
Use landscape stakes at the bottom to prevent shifting in strong winds.
Treating the Metal
To cut down on rust, spray the panel with Rustoleum spray paint. I’ve sprayed before installing and afterwards; not sure it makes much difference.
I also tried both gray and black. I prefer how black disappears in the landscape.
For more gardening, beekeeping, cooking and easy home decor tips, subscribe to Garden Notes, my free weekly newsletter.