Ten Tips to Begin Gardening
/
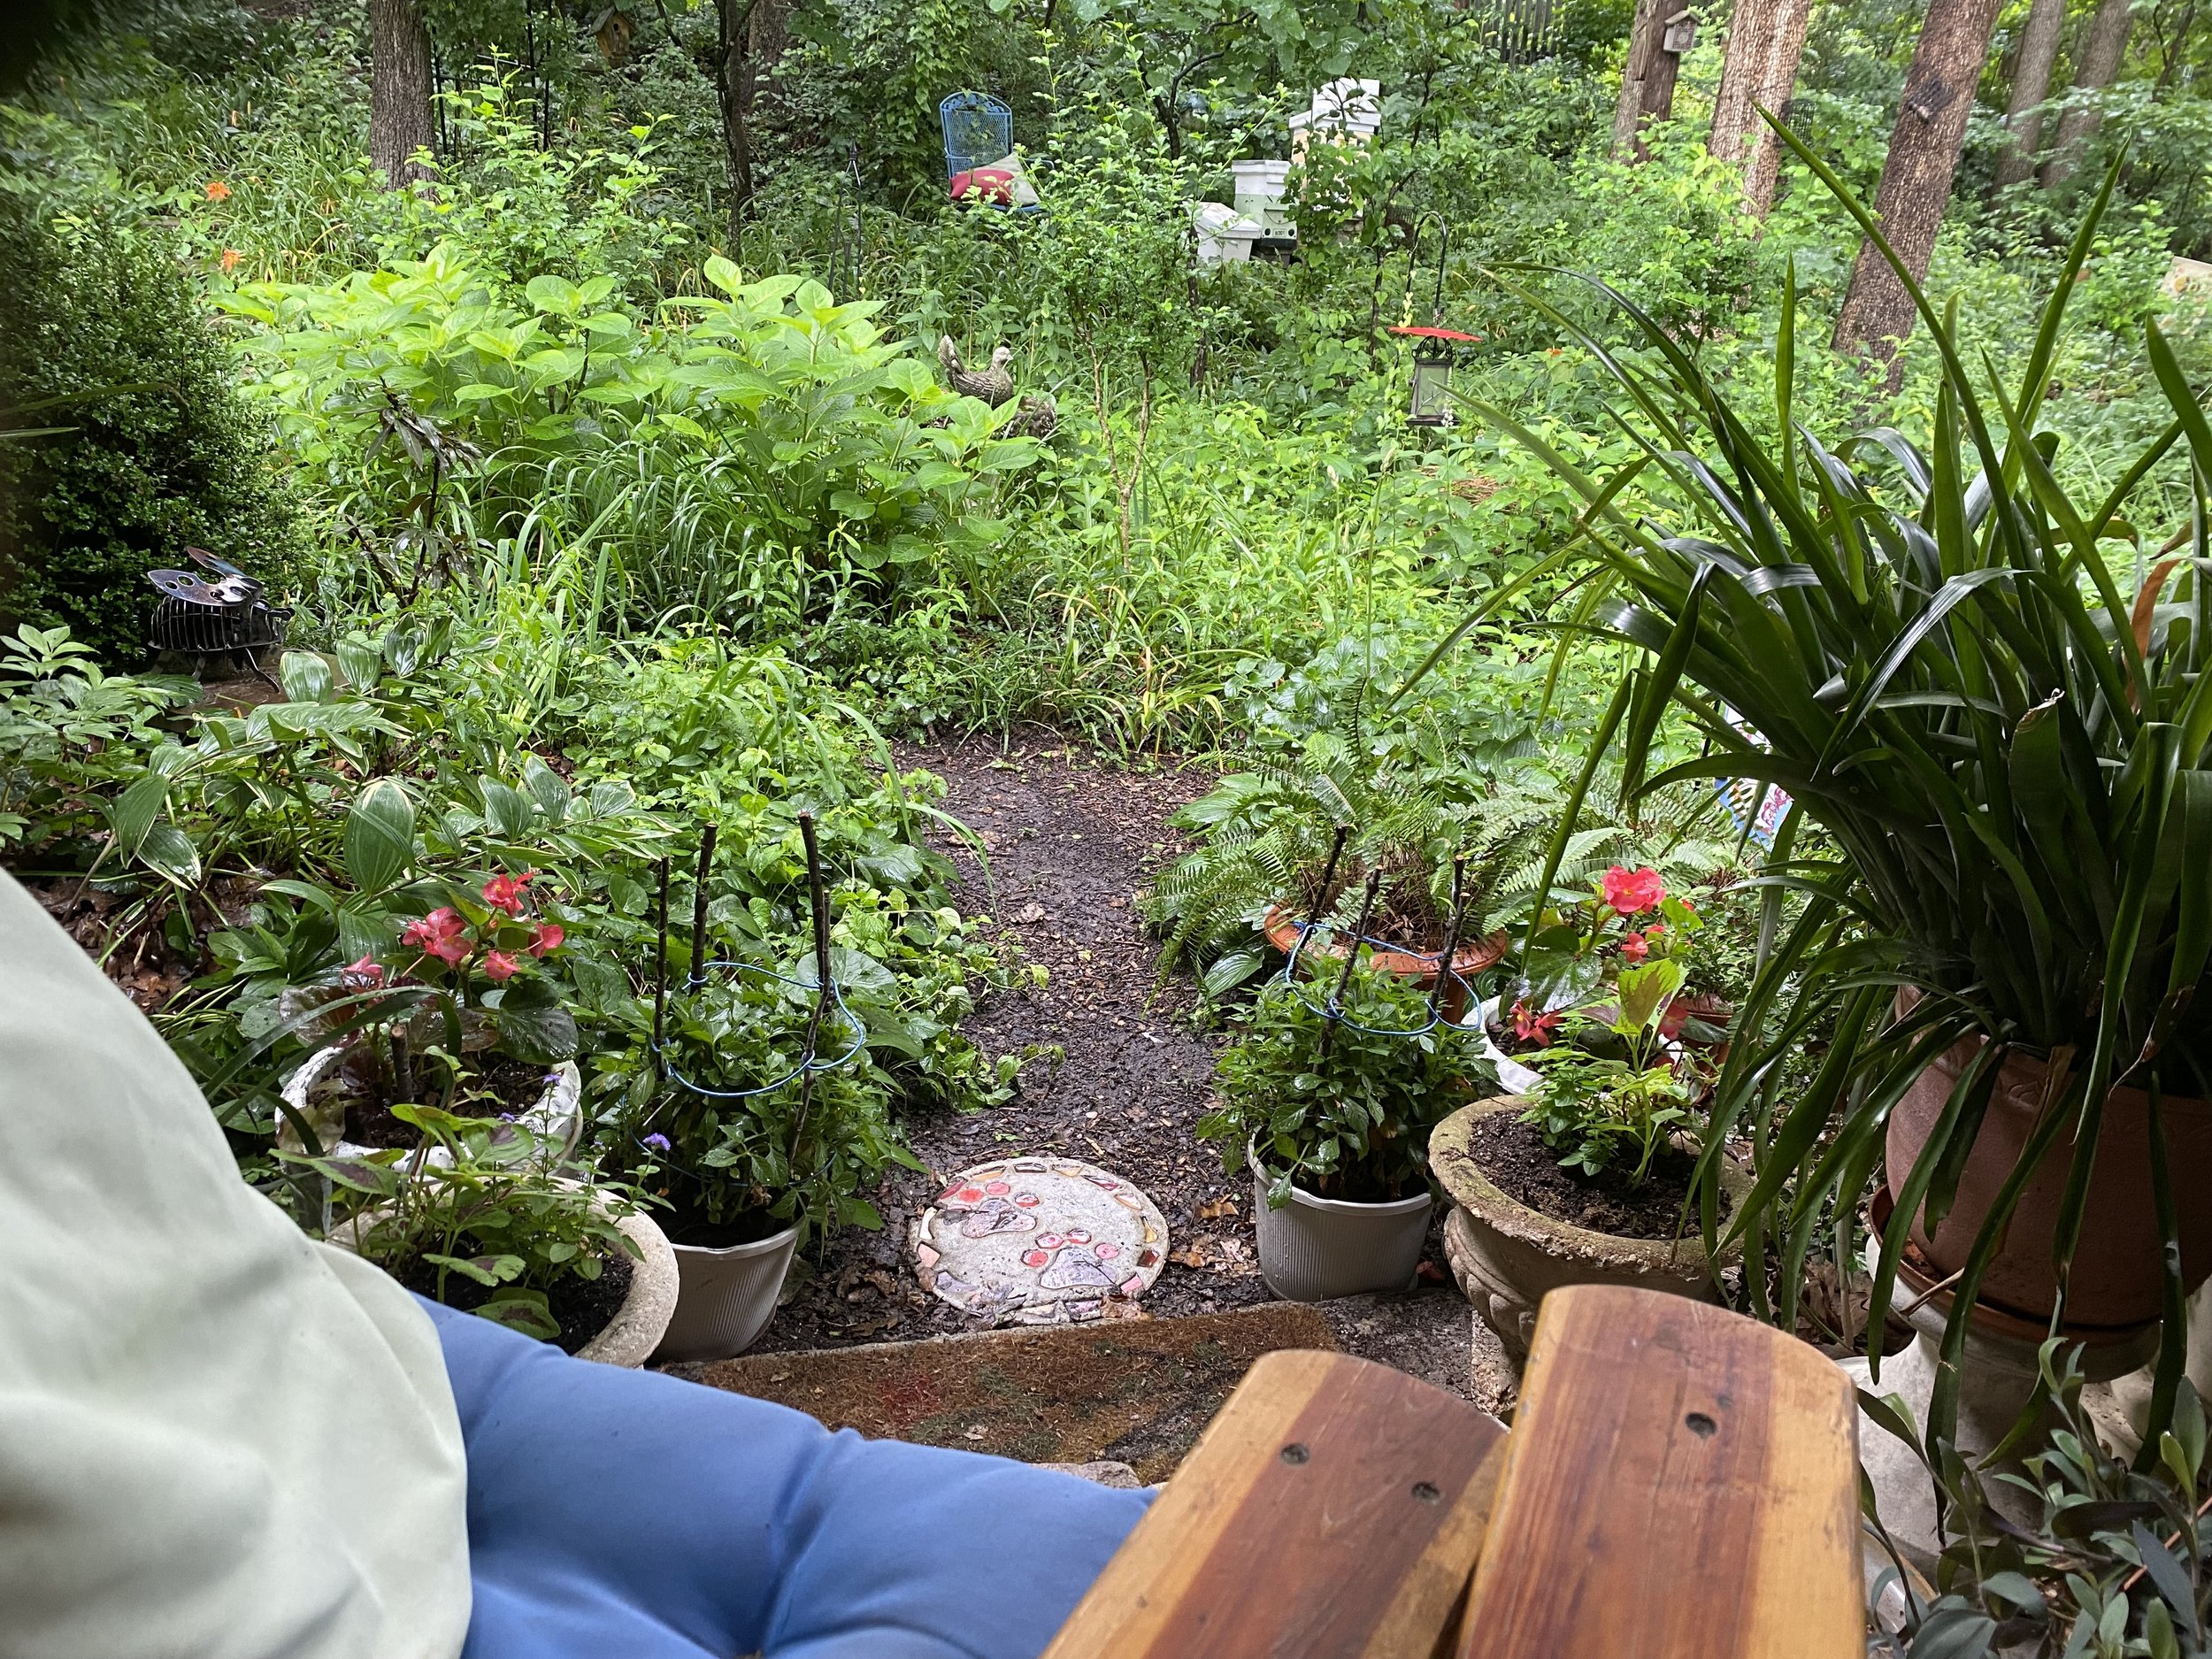
A garden diary will help with planning and as a benchmark for your success. (charlotte ekker wiggins photo)
Ten Tips to Begin Gardening
Tempted by those seed displays at home and garden centers? Me, too. Before you indulge in answering the seed siren call, here are 10 tips for starting to garden this year.
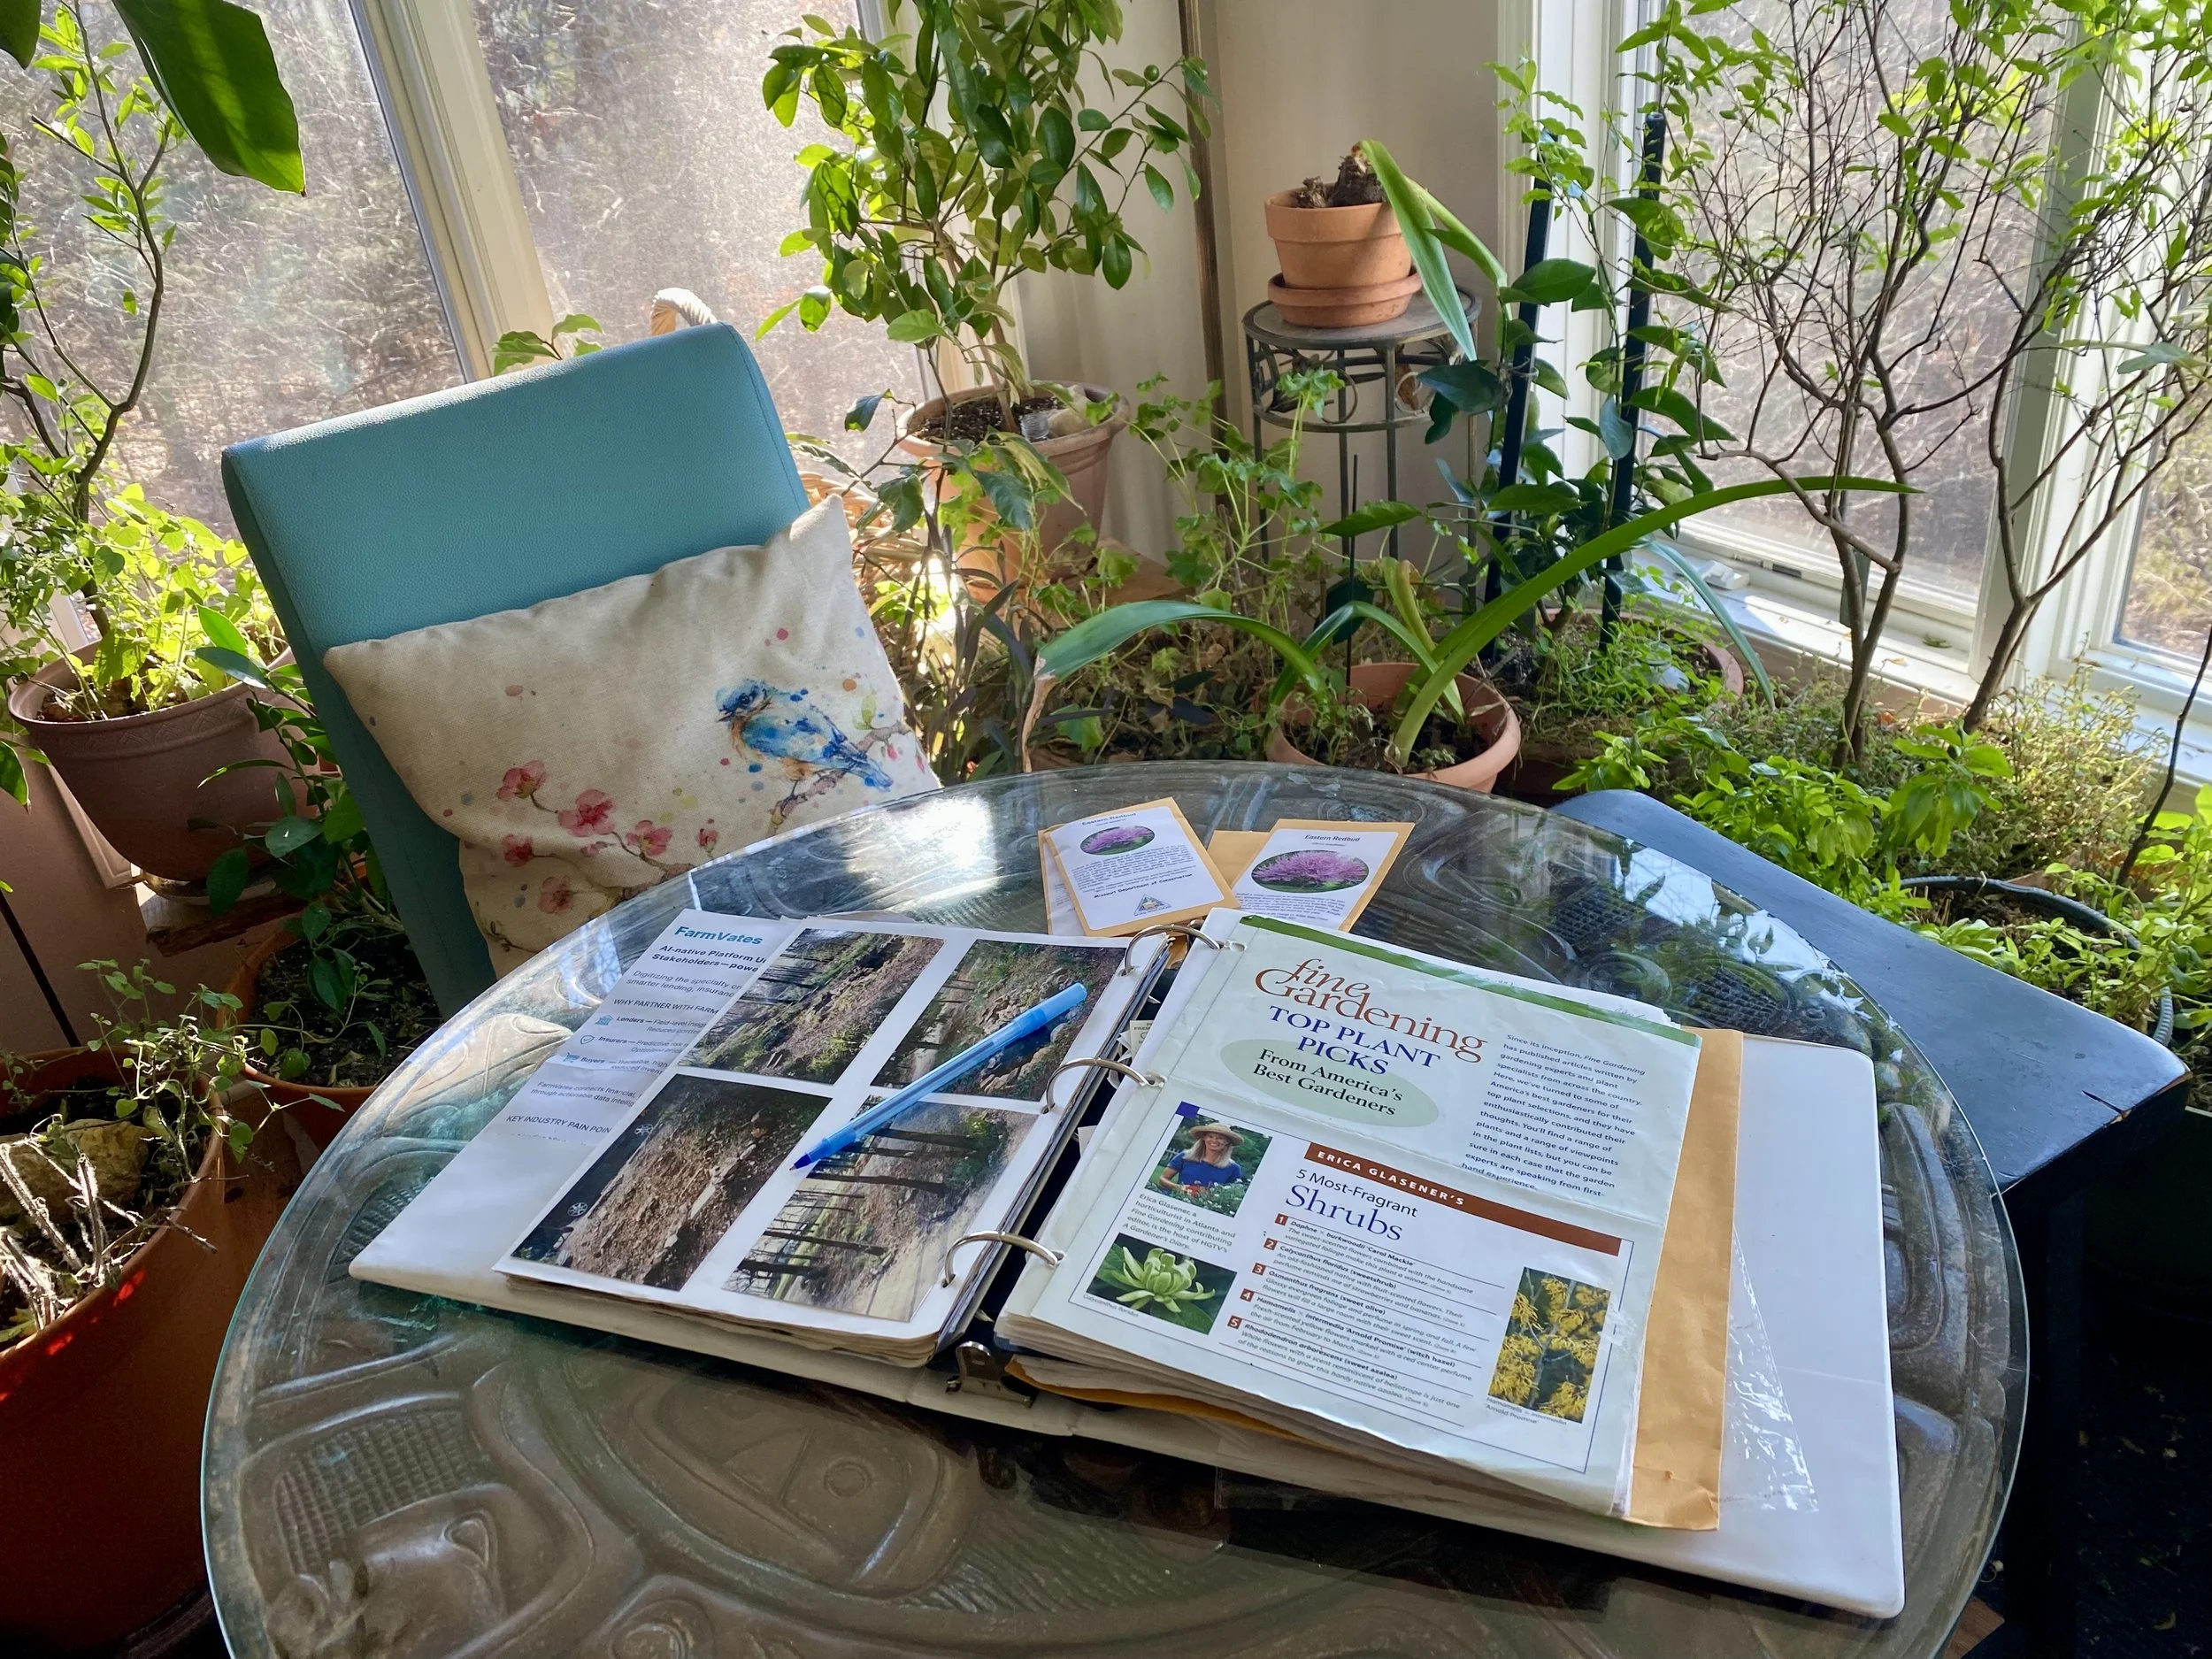
1. Start a Garden Diary. We all have some of those loose leaf binders we no longer use. Fill with notepaper and attach a pen so you can start documenting your journey. I used favorite magazine covers as section dividers. Have the kids draw some for your journal.
2. Research. What hardiness zone are you in, what is your heat zone? When is your first and last frost? Research those using your zip code and note them in your diary. Growing zones are different across the country and get even more specific depending on altitude, soil conditions and other factors. Knowing these will increase your success and be kinder on your bank account.
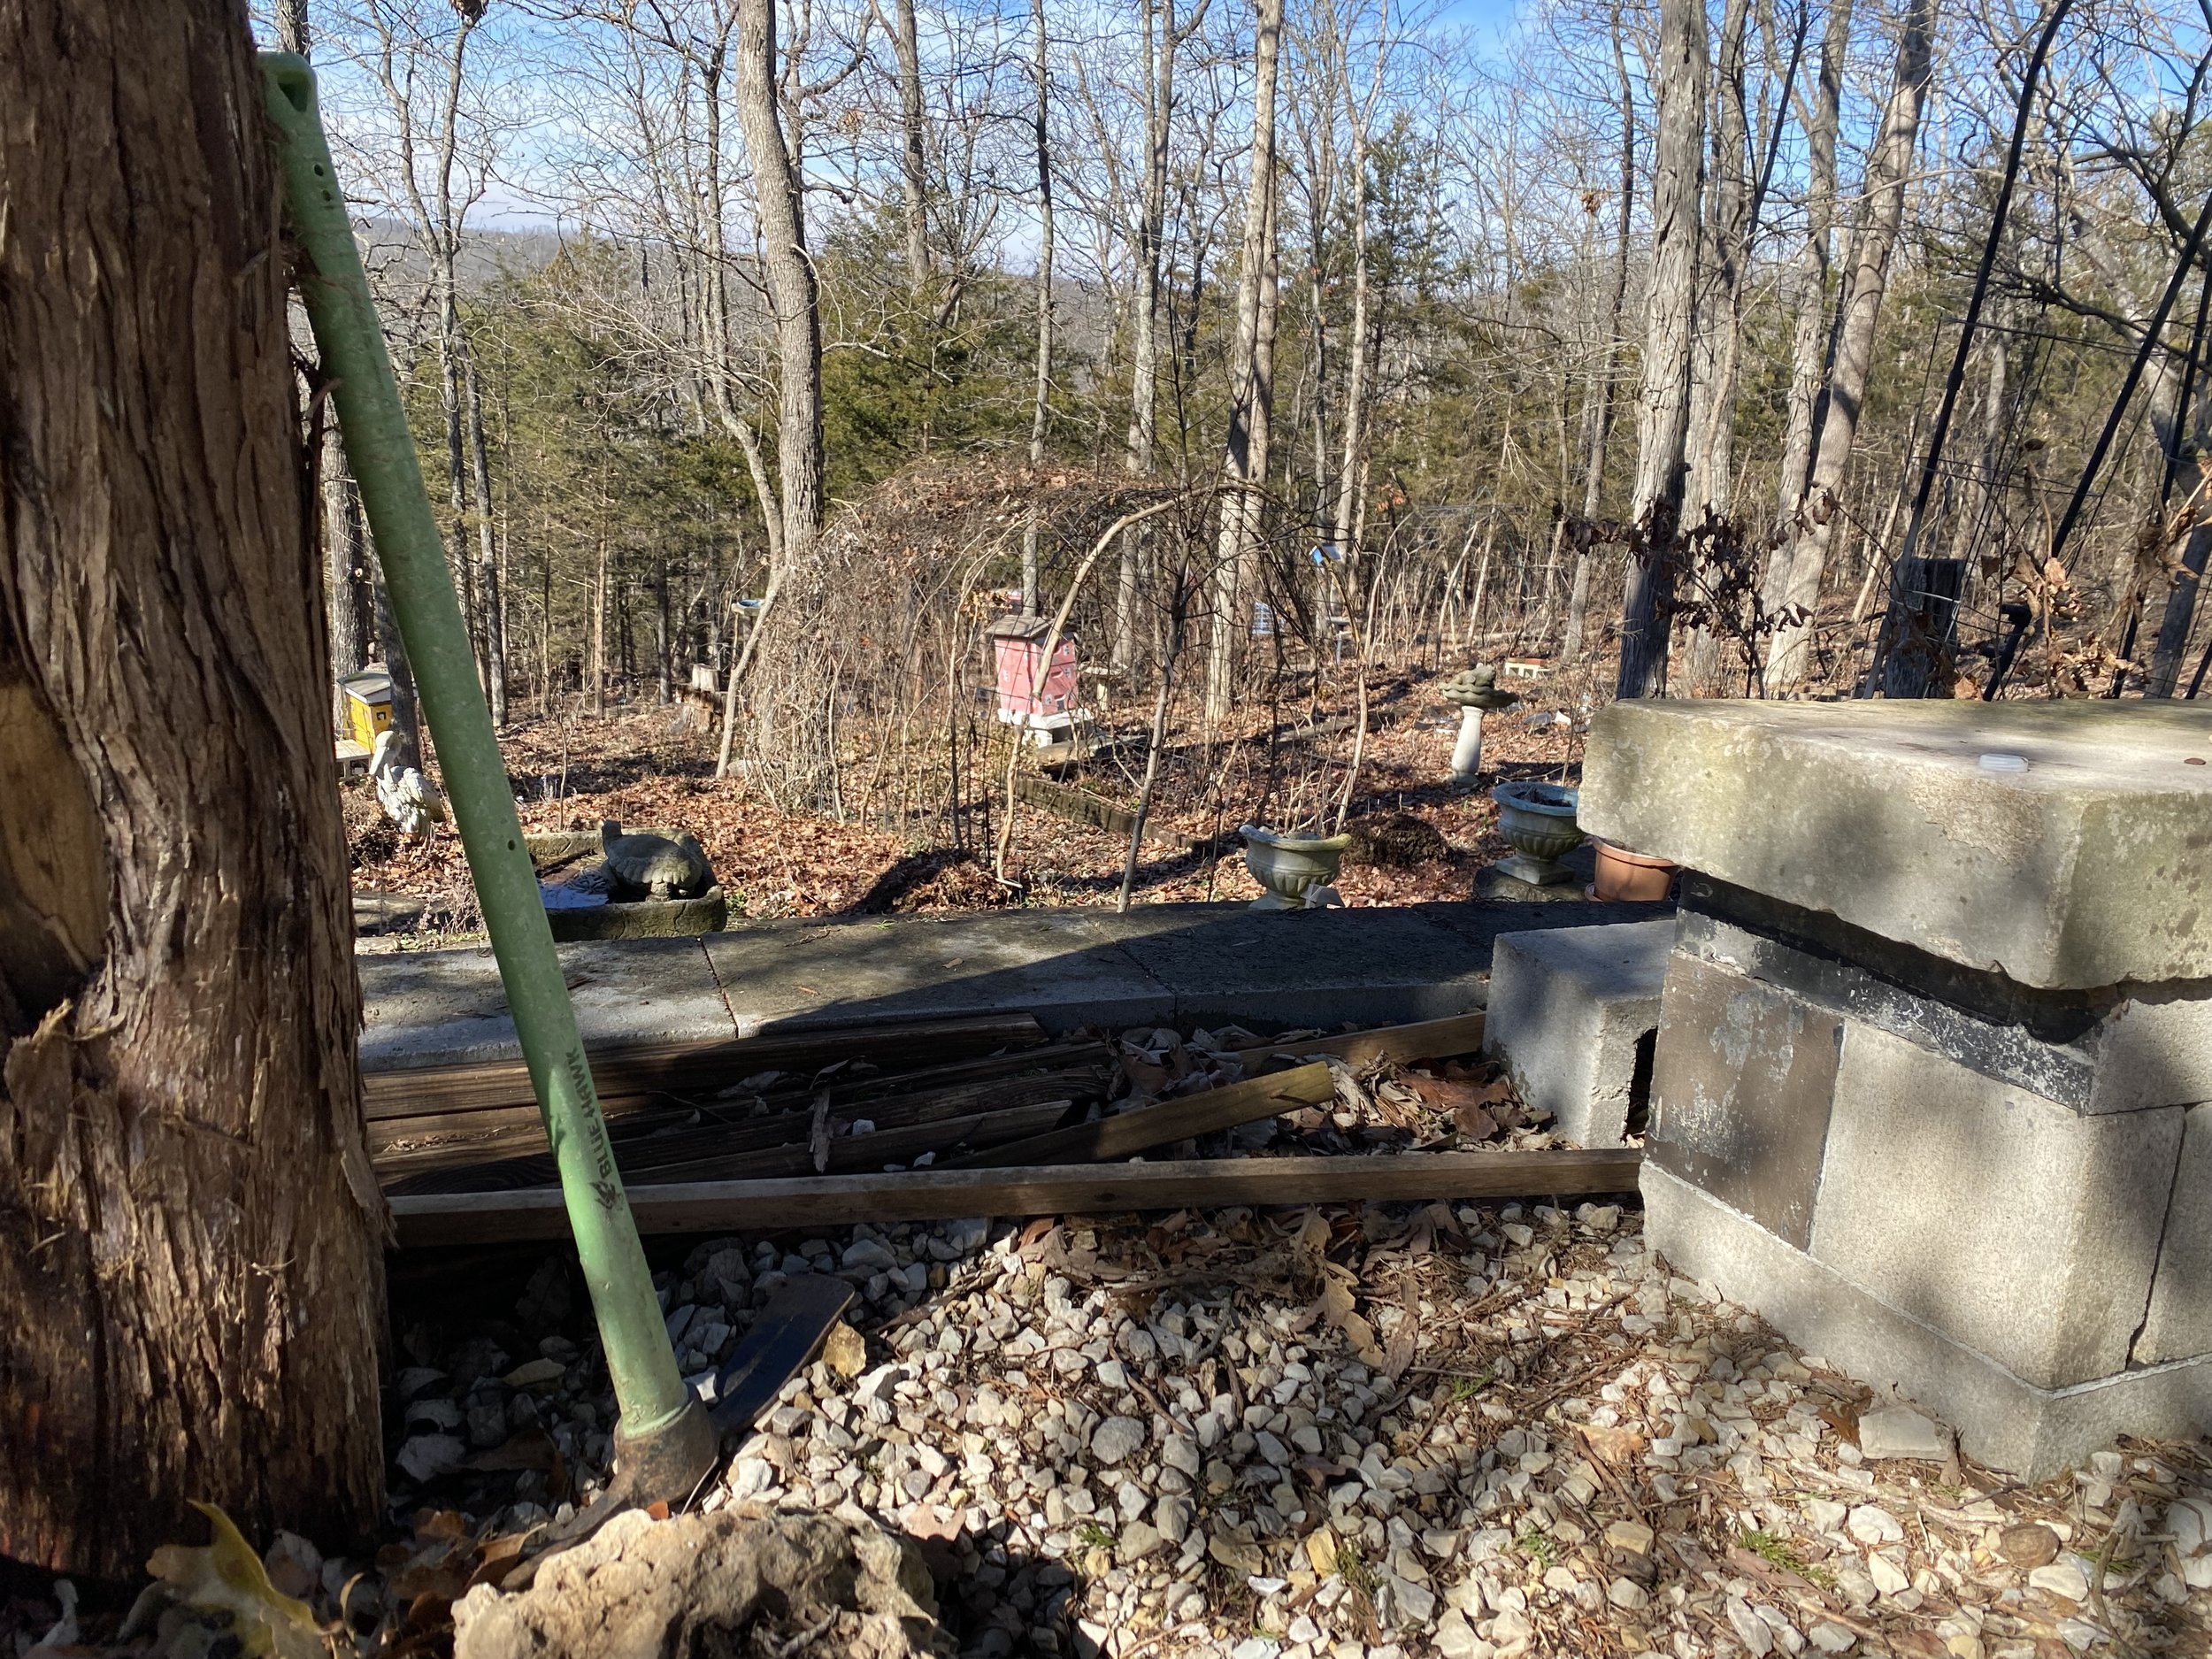
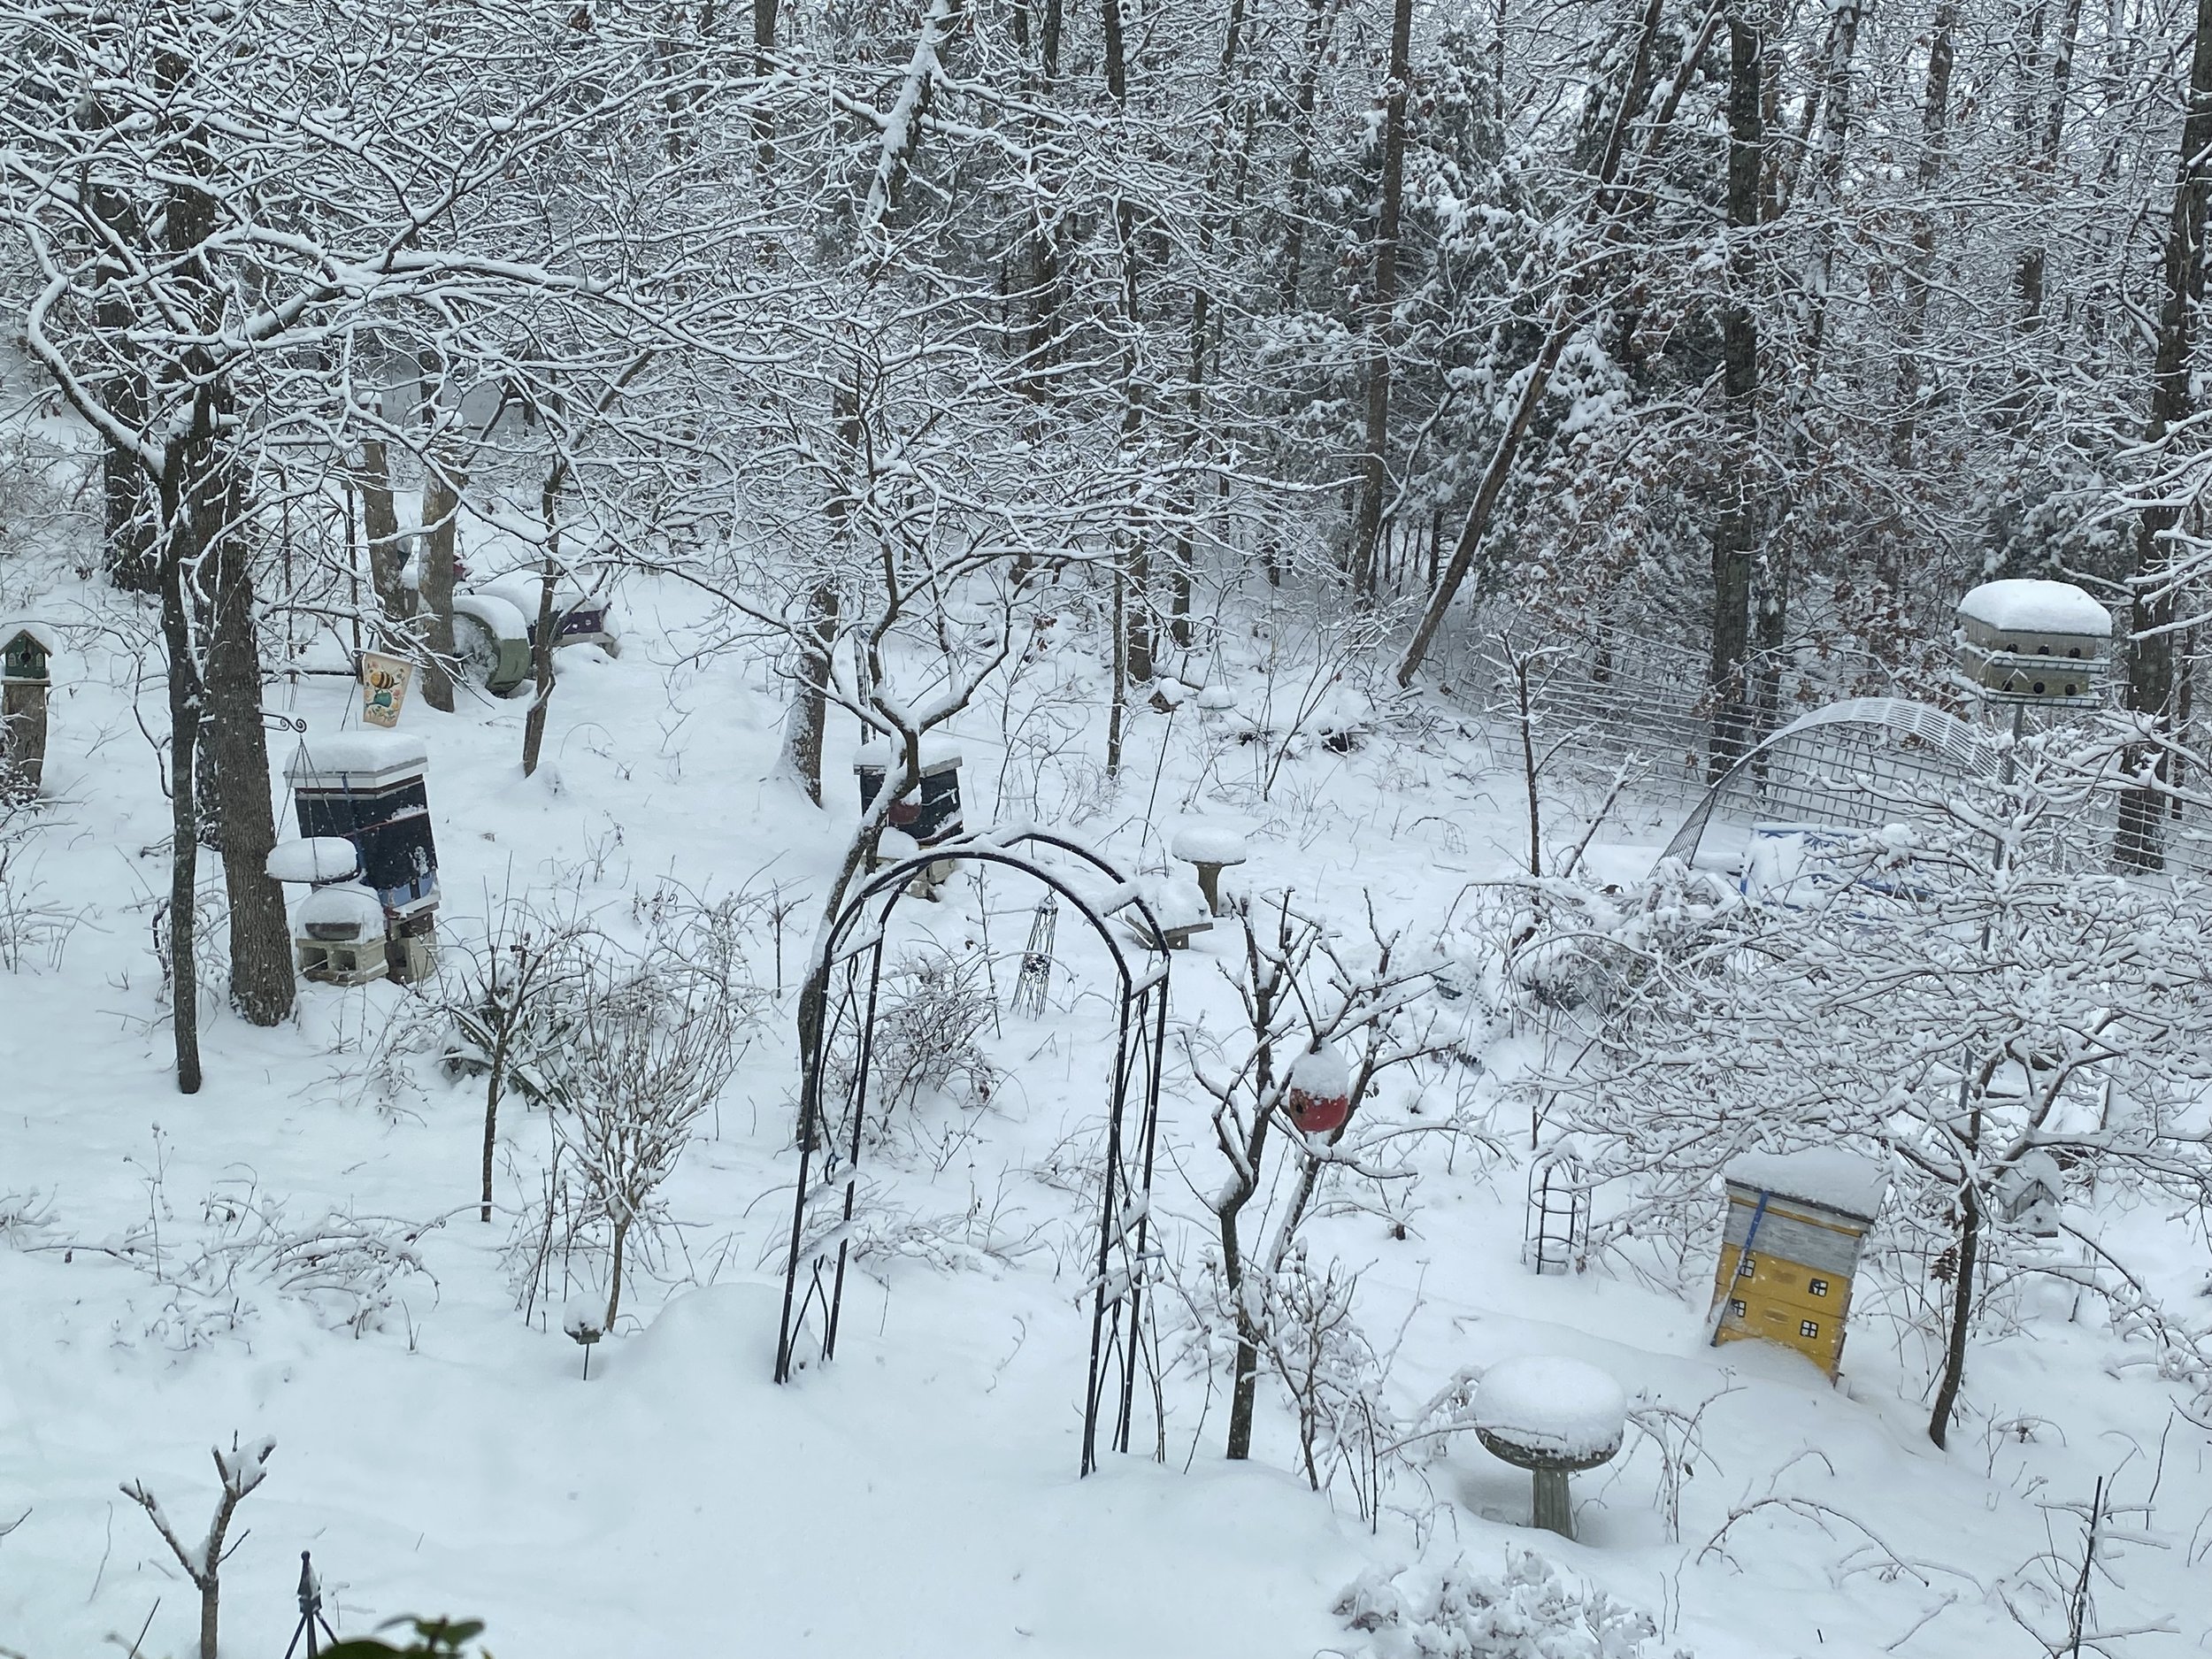
3. Photograph What's Already There. Take photos of the garden as it currently is. Identify a handful of photo points so you can go back every season and take photos from those same locations for easy comparison. Sometimes you will see something in a photo that would otherwise be overlooked.
4. Inventory: Identify what's already growing in your garden: trees, shrubs, flower beds, large rocks - identify as much as you can and keep learning what is already established. No point in getting rid of something that is doing well.
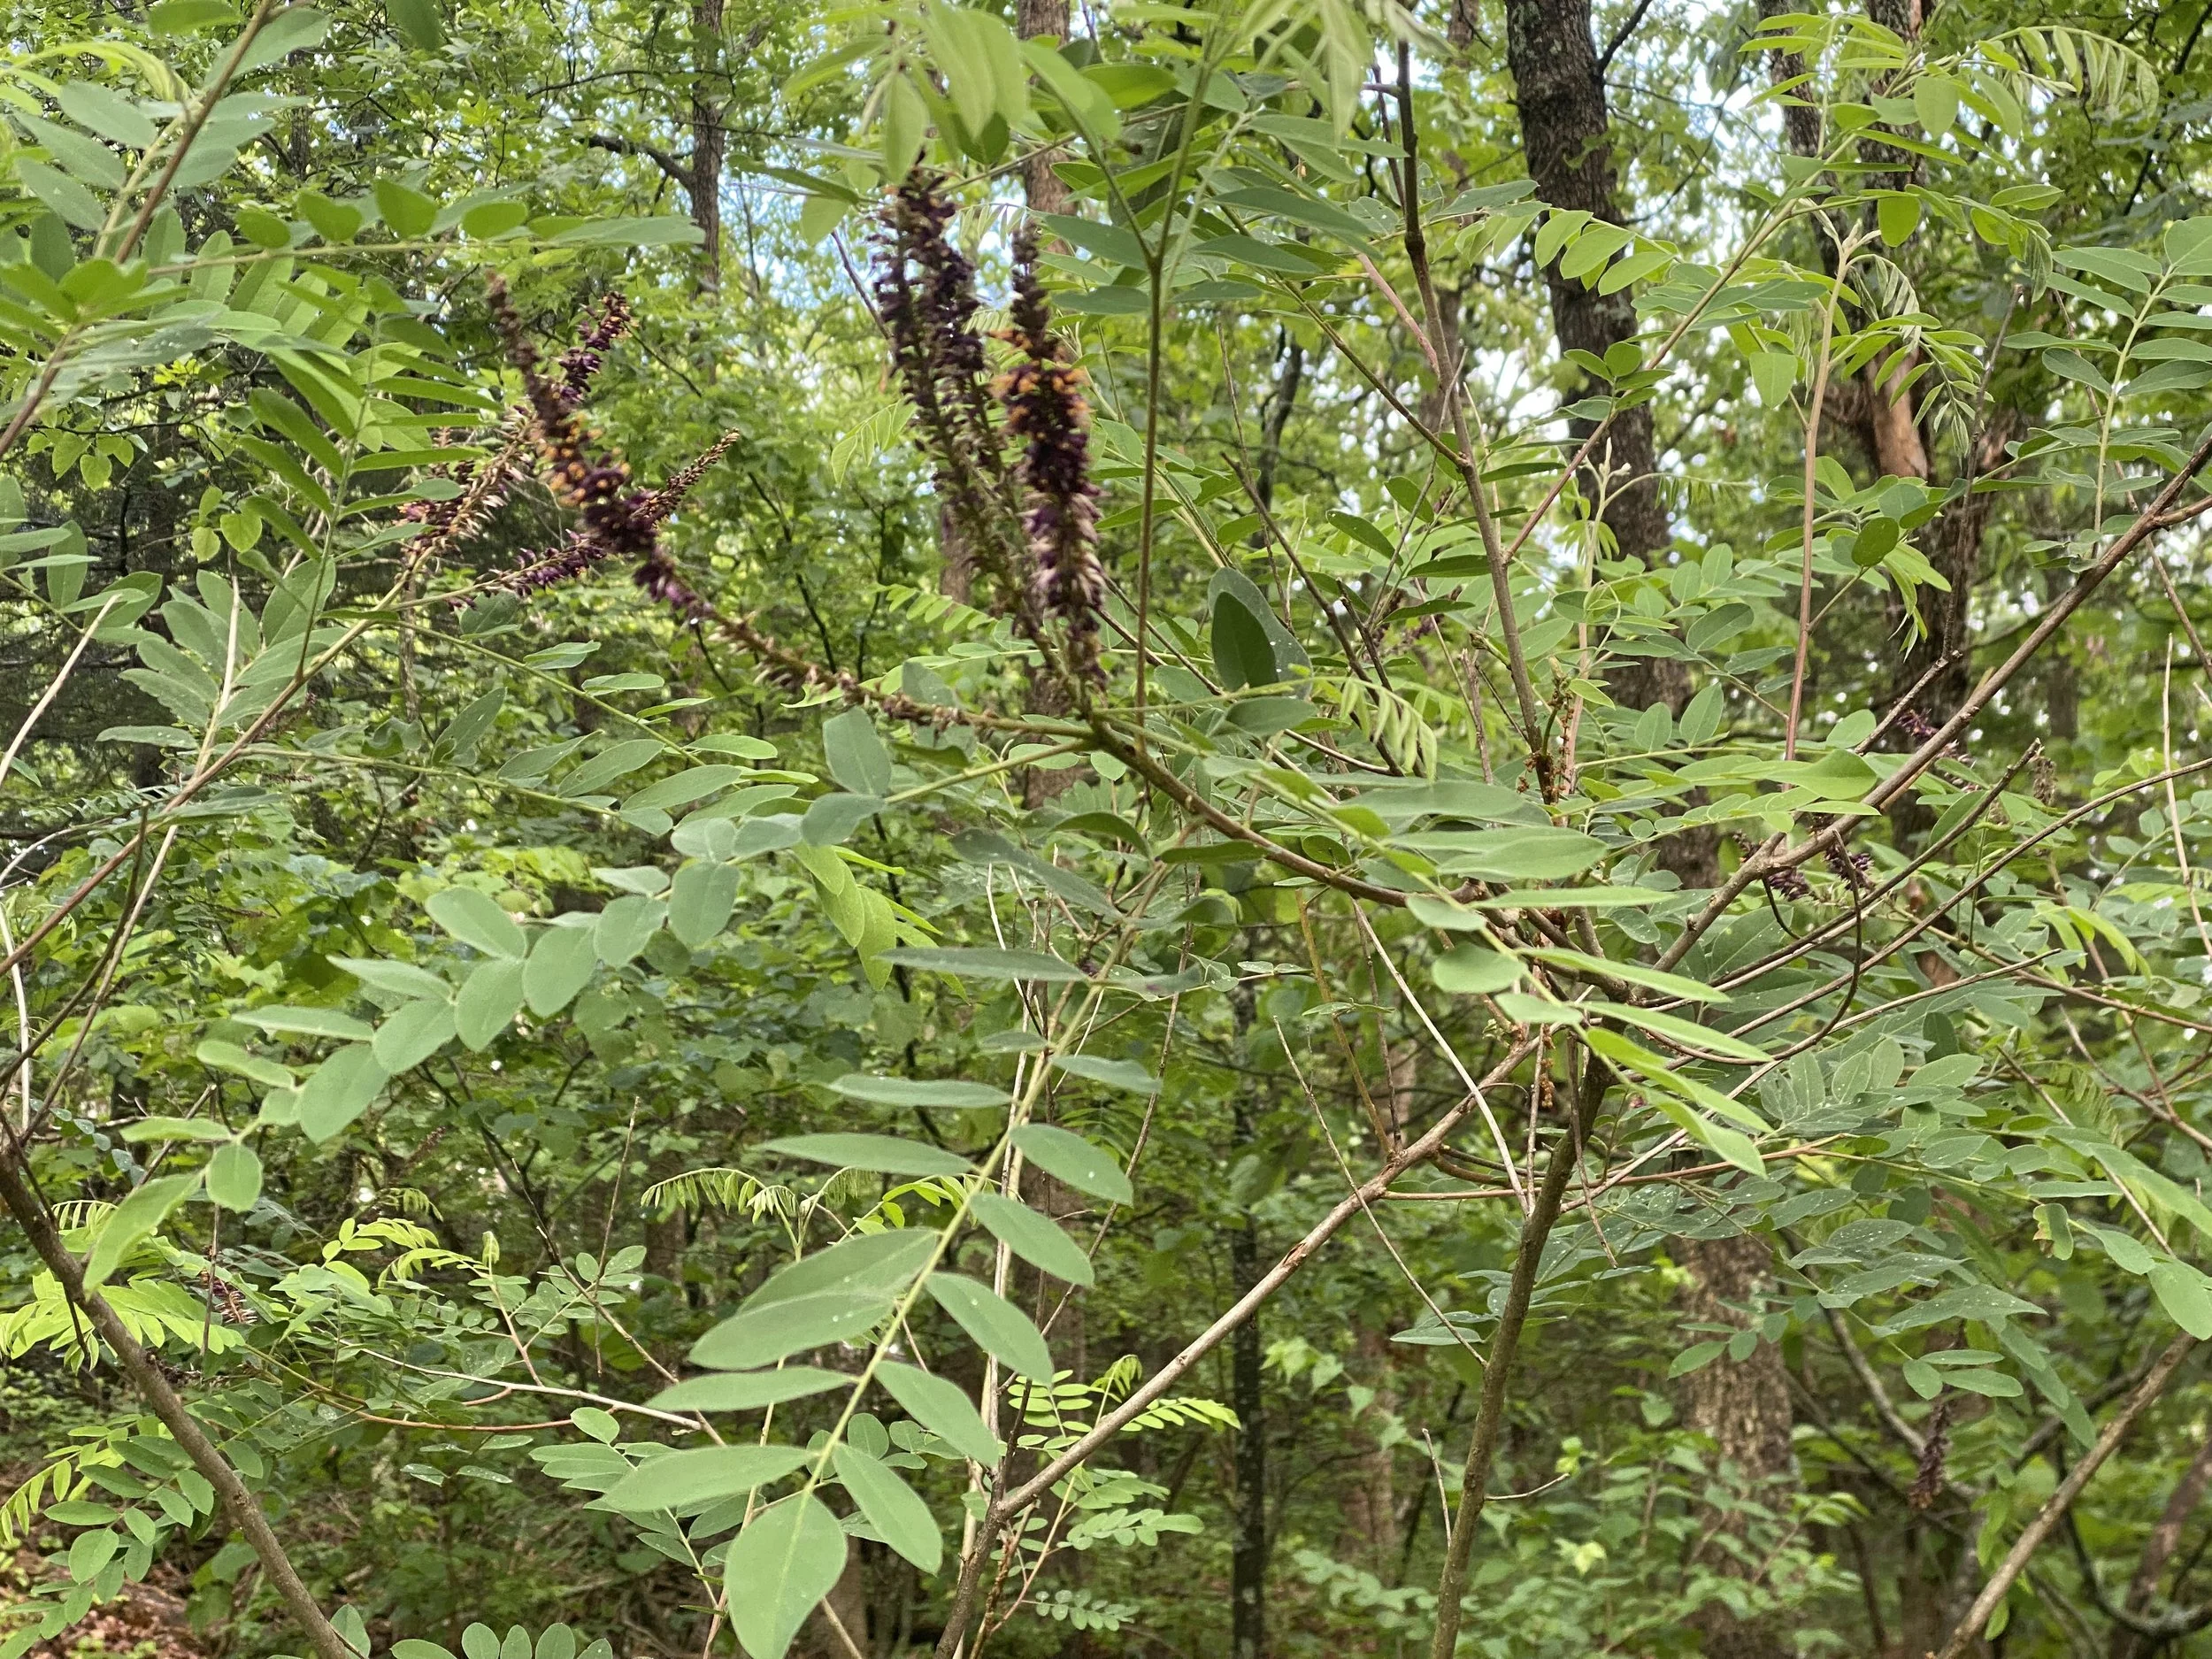
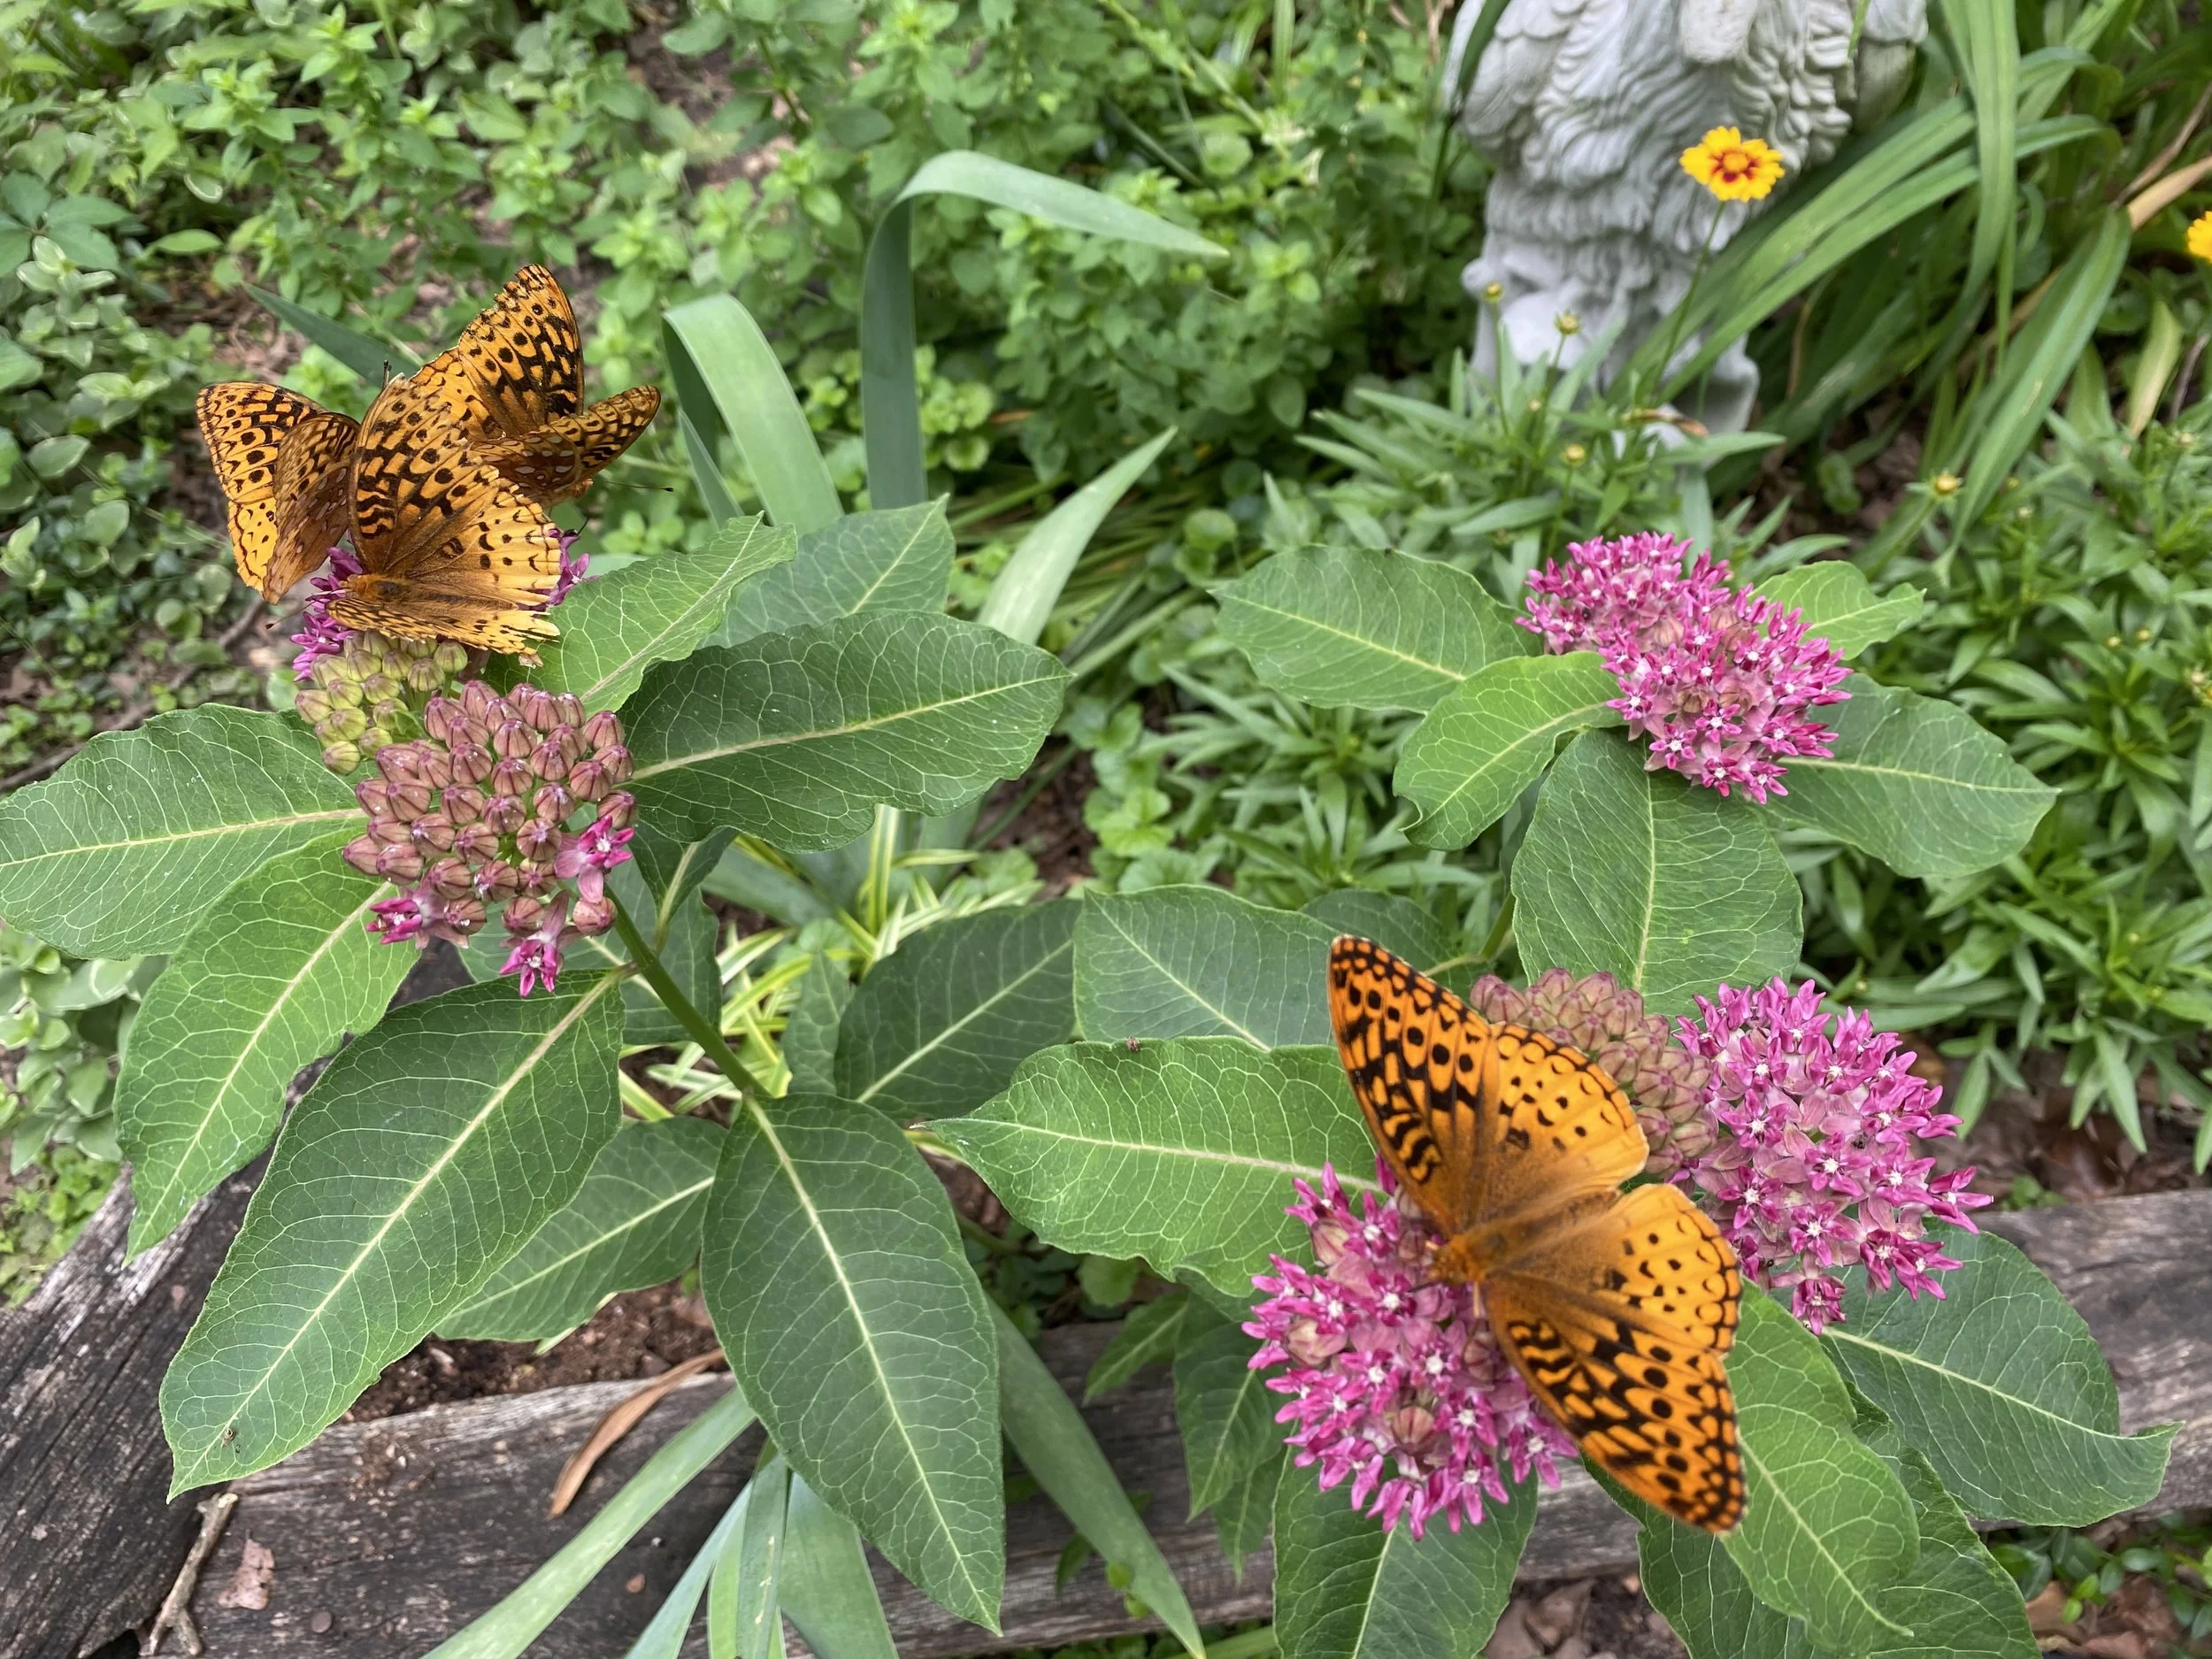
5. Think Native. Check your conservation department website and native plant sources for what grows naturally in your area. Planting native is not only the easiest way to start a garden but has a higher rate of success because those plants are acclimated to your property and interdependent with native birds and bees.
6. Take a Class. University Extension programs offer beginning gardening classes during winter. Sign up and get the basics from a reliable source.
7. It's Soil, not Dirt. If you can only take one class, take the one on soil. Understanding and being kind to your soil is the foundation of your gardening success. Really.
8. Freeze Kitchen Scraps. Save kitchen scraps in a freezer bag, then take them outside and bury them under shrubs and trees. Your composting does not need to be difficult, it's a matter of getting into the habit of saving kitchen leftovers. If you take good care of soil it will take care of your plants.
9. Dream. Check out gardening books from your local library; ours also loans out magazines. Get inspired. Doesn't mean you will do that, it's just a way to get you started identifying possibilities. If you can build on what you already have, even better.
10. Get Growing. Plant an Amaryllis bulb, paperwhites or bring a grocery store herb home. Follow directions and watch how they grow. Use the herbs in cooking. Start appreciating the beauty, and flavor, plants can bring into our lives.
For more gardening, beekeeping, cooking and easy home decor tips, subscribe to Garden Notes, my free weekly newsletter.