Rose Pruning

Inspiration to learn how to prune roses, it is relatively simple once you follow a few steps.

Inspiration to learn how to prune roses, it is relatively simple once you follow a few steps.

Rose Pruning

Ok, it’s that time! If you are one of those people who have wondered through the year when you should be pruning your roses, the time is now. I look for green stems by St. Patrick’s Day, a good way to remember what time of year roses should be pruned.

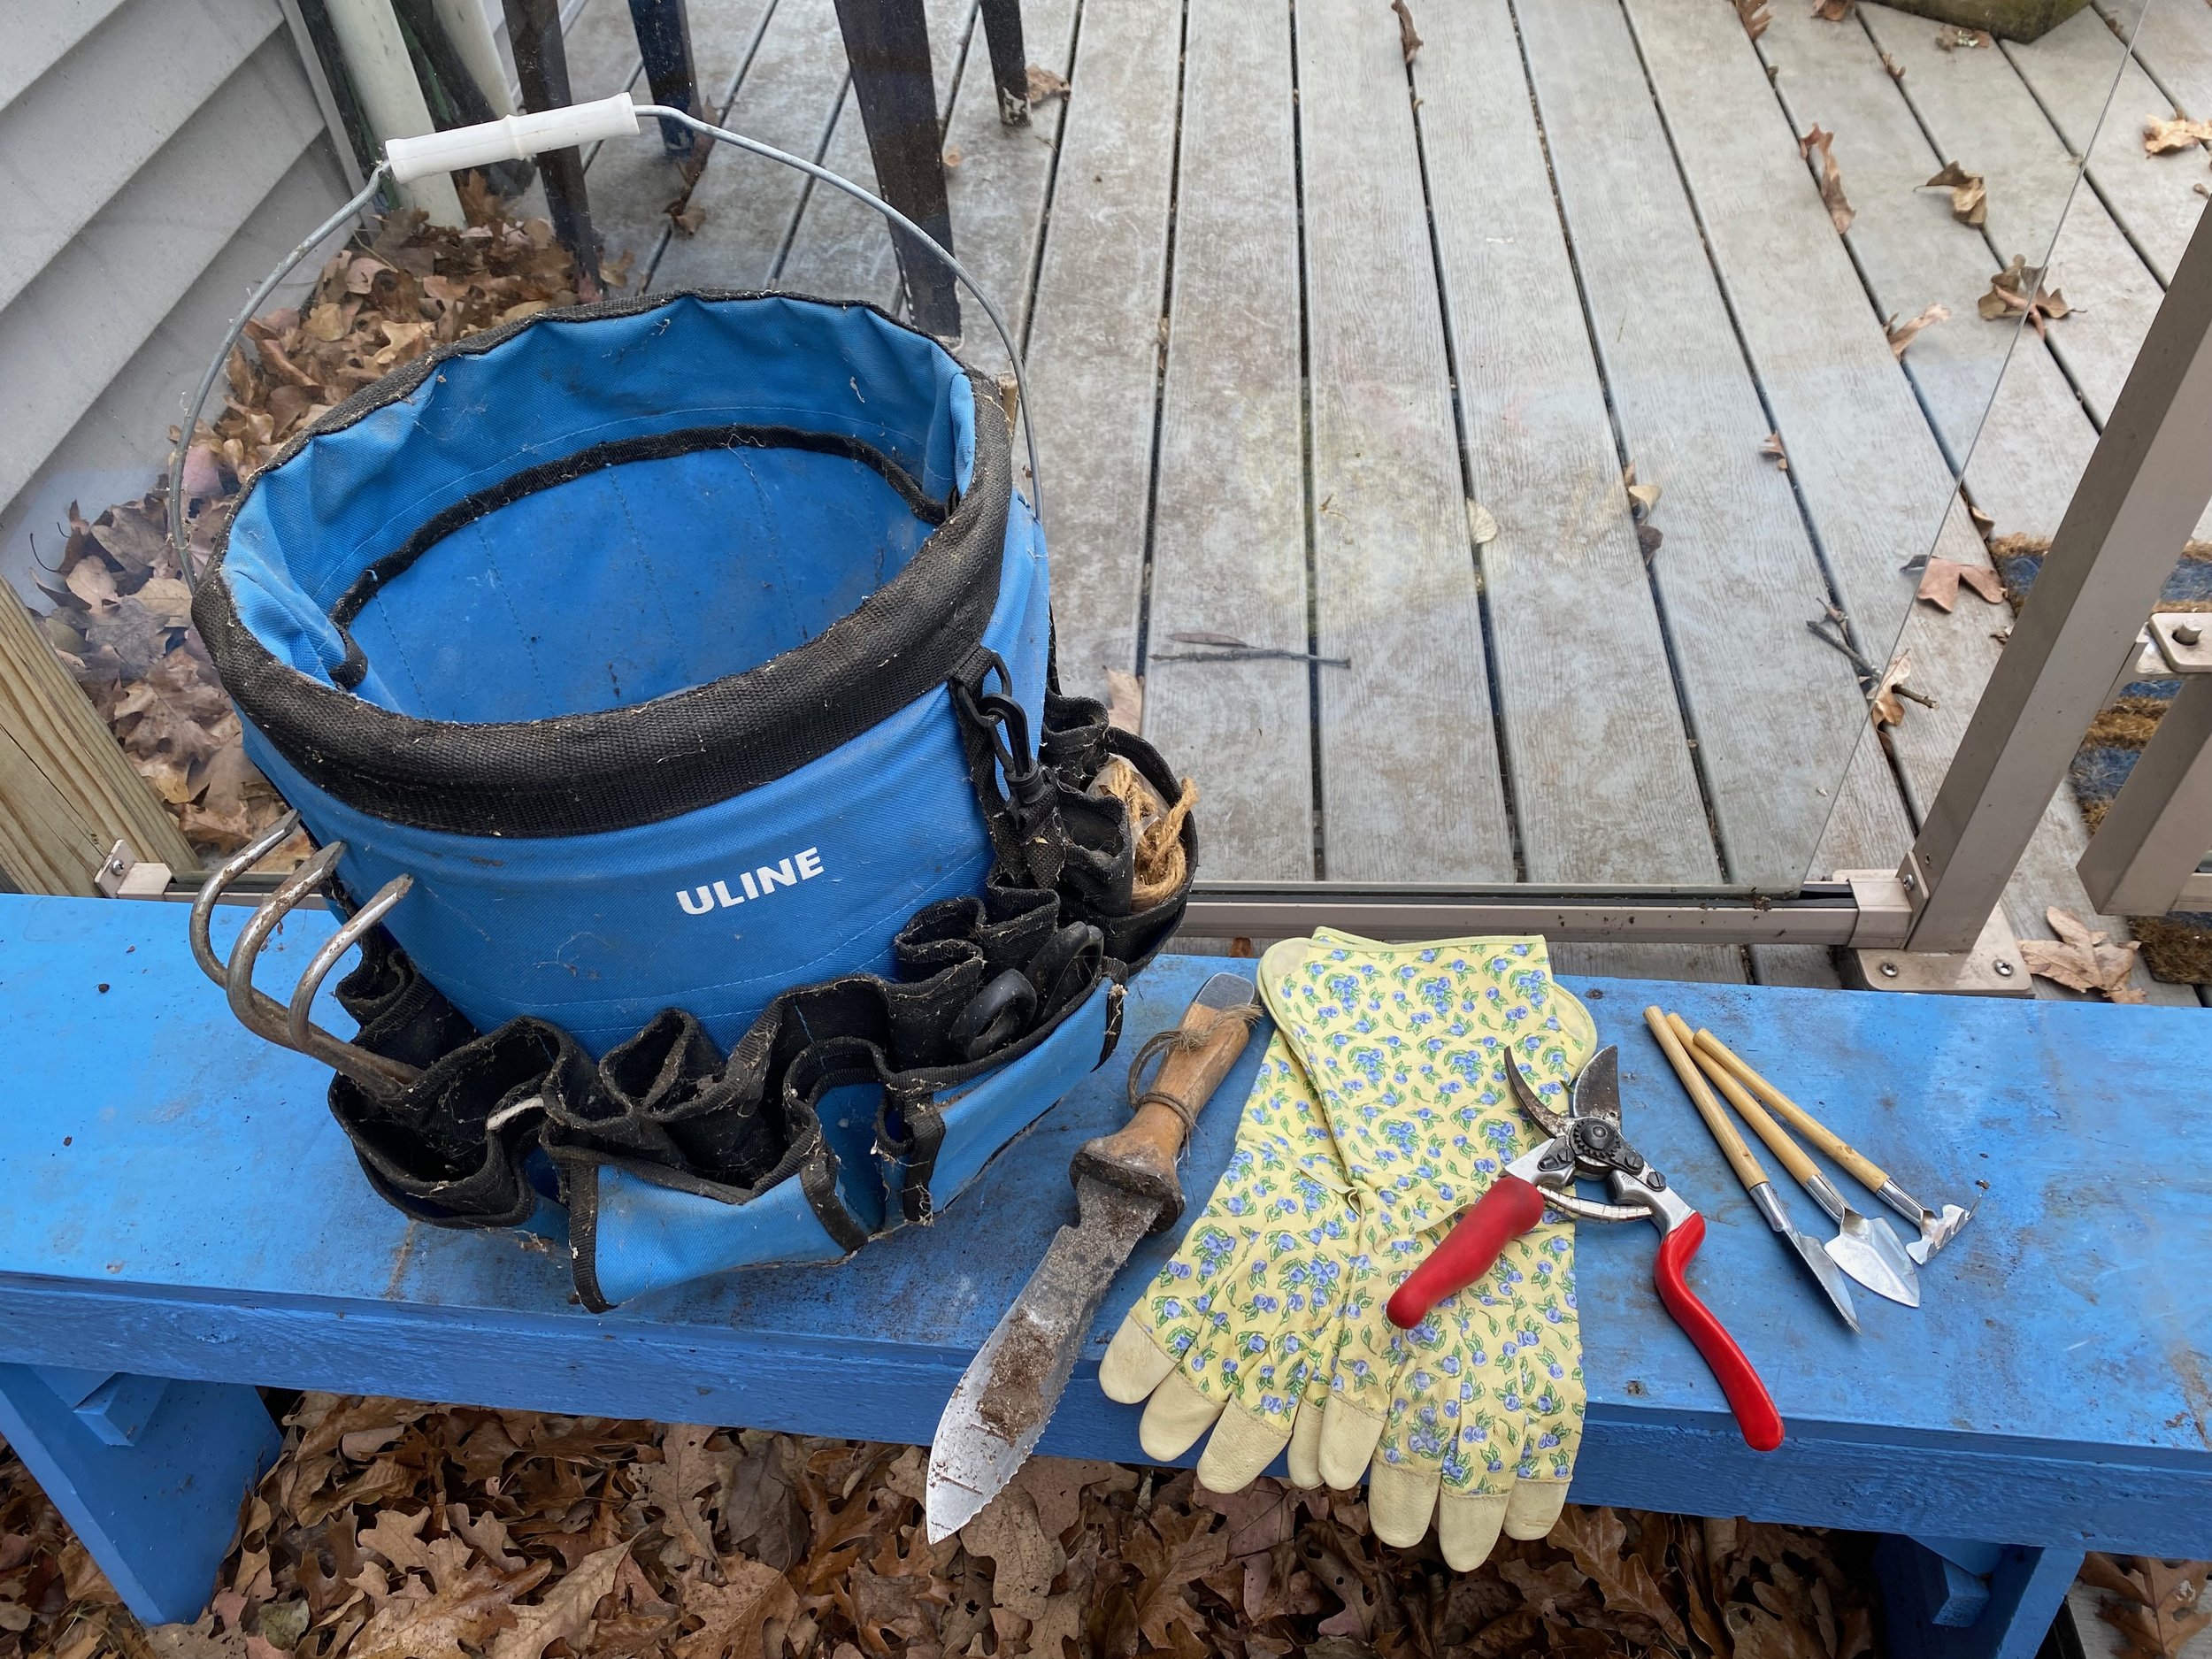
To prune roses, start with sharp trimmers cleaned with alcohol so you are not spreading last year’s diseases. I use old socks soaked in rubbing alcohol to wipe down my trimmers. I also make sure the trimmers have been sharpened so the cuts are clean; using dull trimmers will cause stem tissue damage to the plant and invite diseases as well as slow down growth.

Now pruning anything can be nerve-racking. The good thing to remember is that most plants, including roses, are forgiving so take a deep breath.

The second tip is to take your time.  When I first started pruning, I tied pieces of yarn and old bread ties where I was thinking of cutting. I would adjust the cutting plan before actually making the cut. If I made a cut and didn't like it, I would remind myself of tip number one.

After trying several different approaches, here is how I start. I first remove any and all dead stems, that usually gives a better view of what's left behind and what you should trim next. Go slowly; some branches that are dead may only be dormant. If in doubt, first scrape the branch gently with your fingernail to expose what's underneath. If it's green, that branch is still alive.

Some branches may be yellow green; that means it may be dying but it could rally with a little help so don’t give up on it just yet. Definitely mark that rose for a little extra soil conditioning and give each plant ¼ cup dried coffee grounds, half to one banana peel and 2 tablespoons Epsom salt mixed together. I also add crushed egg shells and dried orange peels when I have them. Feed once a month through the growing season.

You want to keep a shape that leaves air circulating through the center so remove branches that crisscross or are in-growing.

Now that the dead branches are gone, and then the criss-crossing ones have been removed, what is left is almost done.

Look for the pink nodes facing outwards, that's where you want to cut to encourage growth.

Look for the pink nodes facing outwards, that's where you want to cut to encourage growth.

Look carefully at what is growing where. Find the pink nodes facing outwards, that’s where the plant will grow. Cut the branch 1/4 inch above the swollen bud at a 45 degree angle, that will encourage the branch to grow outward.

In general, also follow the following guidelines:

If you want your rose bush to be about the same size as it was last year, cut it down by half.

If you want a smaller shrub, prune to one third of its original size.

If you want something larger, prune to two thirds of its original size.

If this is your first year growing roses, prune much lighter at first; I usually wait until at least the second year before doing any pruning.

Charlotte

Miniature Red Roses on Sale

Now this is what I call a great sale, and to have it attached to a flowering plant, even better.

Now this is what I call a great sale, and to have it attached to a flowering plant, even better.

Miniature Red Roses on Sale

I had popped into a nearby grocery store to get warm when, out of the corner of my eye, I saw the 49 cent sale sign over the word "floral." My mother used to joke I could have my glasses off and still spot a plant on sale.

Meandering over to the sale rack, I found the sign was on the side of a row of miniature red roses, most of them with spent blooms. The plants themselves were still dark green and strong so I knew they were still growing. I picked three. I stick with the rule of uneven numbers to decorate, even with plants.

The sale price was attached to these red miniature roses, now on their way to my house.

The sale price was attached to these red miniature roses, now on their way to my house.

The lady at the check-out wasn't sure these would pull through but I was. These were marked down just because they had stopped blooming. A little time and sun, and they would be back to being appreciated.

I cut off the yellowing buds, sprayed the leaves with a room-temperature water mist, let drip dry, then mixed worm castings from my worm farms in a corner of the potted soil. I thought about un-potting them first but the soil was loose enough to easily add the castings and fluff them into the existing soil.

Worm castings are now available in bags at most garden centers. You can also make small worm farms in a garage corner with kitchen scraps and a handful of red wrigglers and collect your own during the growing season.

The potted roses spent a few days in a sunny spot and soon the rest of the buds were starting to open.

One of my friends in the nursery business recently told me sales of roses are down in general, although as a cut flower they are still a popular choice. The most cut red roses are sold for Valentine's Day, although Mother's Day is also a contender.

Over the years, of all of the roses I have grown,  miniature roses are the easiest and hardier ones to grow and, with a little care, will continuously bloom through our USDA zone 5b growing seasons. I enjoy growing the other varieties, too but I won't hesitate buying these small varieties whenever I find them on sale.

After a little compost tea, the roses are my dining room table center decoration.

After a little compost tea, the roses are my dining room table center decoration.

I also used to tell my husband-at-the-time, if he wanted to buy me flowers, I for one would appreciate having them still growing. Once danger of frost is over, I can plant gift flowers in the garden and keep enjoying them through the years.

Look at these now, tucked in a basket on my dining room table. Cut flowers are nice but a basket of potted roses that will keep on growing and blooming - well, even nicer!

Charlotte

Don't Toss Out That Holiday Plant Just Yet!

Wish you could have seen my friend Millie's collection of poinsettias. She had at least 14, all rescued from neglected corners after the holidays.

They're really easy to encourage to bloom again. Place in a sunny, warm spot with temperatures between 65 F at night to no more than 80 F during the day. Keep watering when soil feels dry and give it a good fertilizer at half the strength of the recommended dose. Around Labor Day, tuck the plant in a dark closetor cover with a empty box covered in black plastic. After about 8 weeks, the leaves would start to turn red again. It takes 2-4 months for full color.

Enjoy!

Charlotte