13 Tips to Grow Miniature Roses Inside
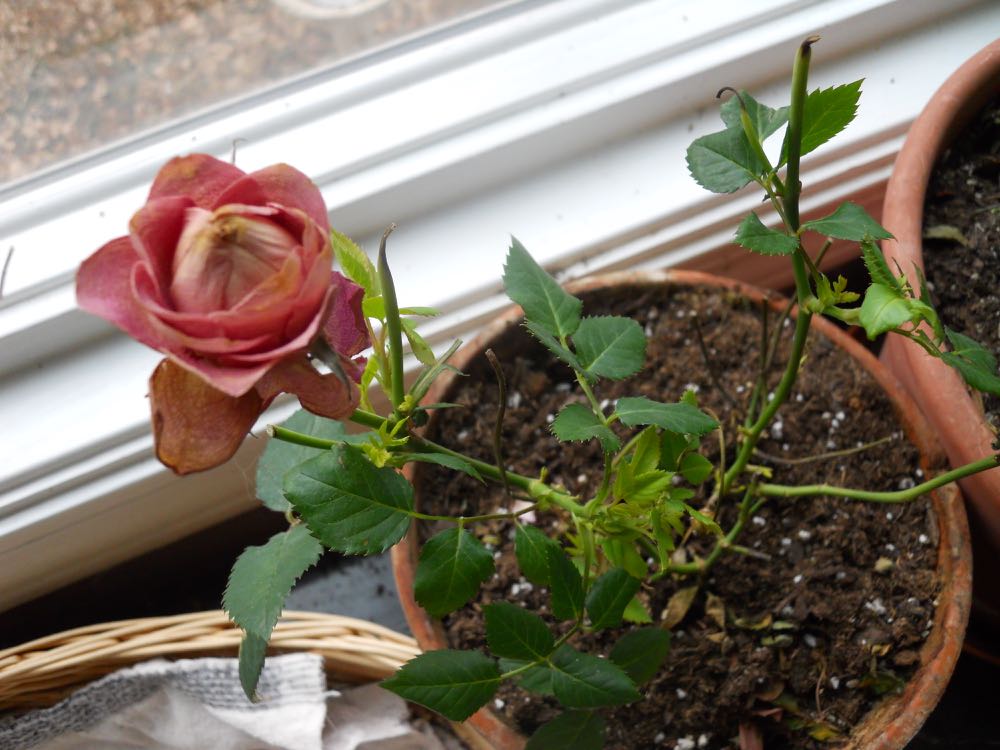
/This little miniature rose was on clearance for $2.49 mid-December and now has new growth.
13 Tips to Grow Miniature Roses Inside
Have you seen miniature roses on sale during winter and passed them by because someone told you they can't be grown inside? Not only can they be grown inside over winter like herbs but they will grow and be ready for blooming outside as soon as the danger of frost is over.
Of all roses, miniature roses are the easiest, and most versatile, to grow. They will do well in pots as well as the garden; are disease and pest resistant shrubs, are long-lasting blooms and are edible so I can add a little flower to garnish a plate and dessert.
There are a few things to remember when growing miniature roses inside:
13 Tips to Grow Miniature Roses Inside
1. Growers place several plants together in the smallest pots possible when selling miniature roses wholesale. When you get or buy one, find a pot that is the next size, preferably at least longer than the pot the miniature rose came in. Miniature rose roots need room to grow.
2. If you want to get several plants, you can separate the ones grouped in the original pot.
3. Before planting, add broken pots or about an inch of broken shards at the bottom to help with drainage.
4. After adding about an inch of new potting soil, I also add a banana peel and crushed dry egg shells, then fill the pot up half full. Spray the soil with water.
5. Add the miniature rose, then fill around it with more potting soil. Press soil gently to pack it around the roots. Spray lightly again.
6. Cut off all flowers and buds so the plant's energy goes into settling into their new pot. I kept one flower on my peach miniature rose for the photos. If you want to keep one to enjoy that's ok, it will be our little secret.
7. Add a saucer under the pot and place it in a sunny southern or western window. Expect some leaves and buds to fall off before the plant settles into its new growing pot.
8. Keep the miniature rose on the drier side, winter over-watering is the leading cause of killing off the plant. I keep it moist with a spray bottle every other day. Before spraying, I slip a pointing finger into the soil to test the soil moisture so that I am not getting the soil too wet.
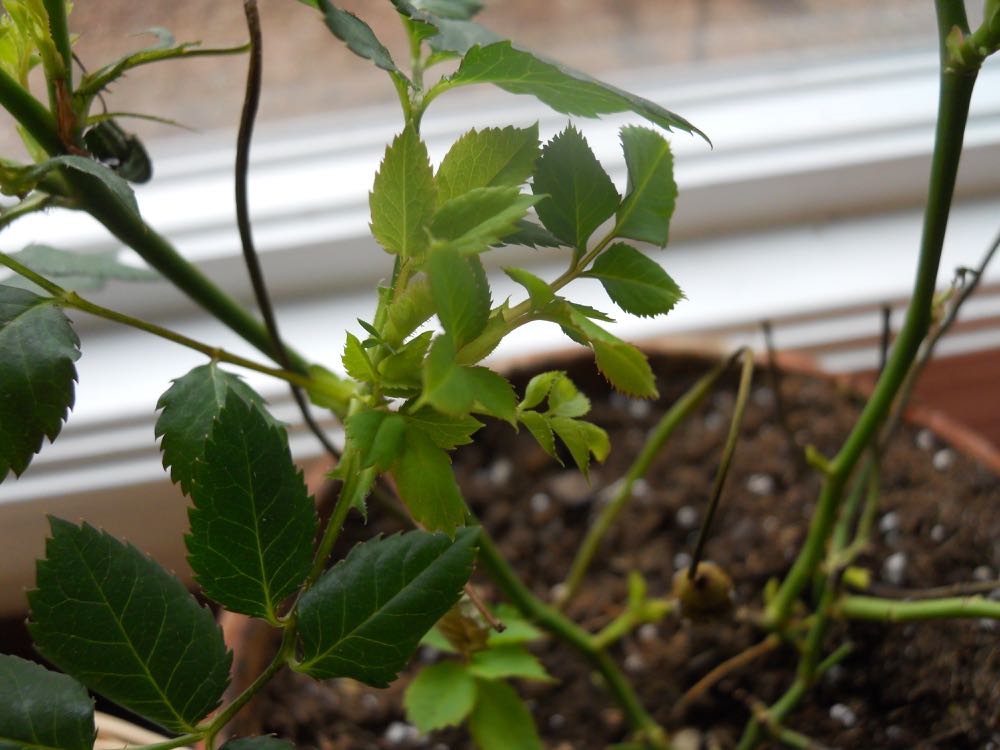
9. This is 3 weeks after I first brought the miniature rose on sale home. New leaves are growing nicely and the soil has remained on the dry side.
New growth is starting to show on this miniature peach-colored rose, a good sign!
Miniature roses have a long flowering habit and, in the garden, are one of the easiest roses to grow so it's worth pulling them through winter until you can set them outside.
I enjoy cut miniature roses in desk top flower vases all by themselves; they're also sweet mixed with other garden flowers.
One of the many reasons I like miniature roses, they are a wonderful addition to desk vases.
Living in USDA Hardiness zone 5b, our last frost date is Mother's Day, which is May 13, 2018. That means these miniature roses need to be kept alive and happy for about 4 months before they get to be planted outside.
10. Last year, I pulled a brown bag full of marked down for 49 cents Valentine's Day red miniature roses through spring and moved them later out into the garden. Although some had roses and buds, I cut those off to prevent the plant from being stressed trying to bud and settle into a new pot. I wanted them to focus first on root growth.
These red miniature roses were on sale after Valentine's day for 49 cents, a great buy any time!
11. Start with new potting soil and add compost or worm castings if you have access to any. Roses are "heavy feeders," which means they require a lot of soil nutrients to successfully grow.
12. Use one fourth of the recommended soluble fertilizer when you water with the spray bottle. Foliar feeding will help get nutrients into the plant but make sure to dry if the leaves remain wet after about 10 minutes. Wet leaves can encourage pests and diseases.
My new peach miniature rose is keeping Miriam, my tomato plant company in a bay window.
So here's my little peach miniature rose in the bay window keeping my winter tomato plant, Miriam, company. I've been told I can't grow tomato plants inside in winter, either, but I have for years and had tomatoes, too.
13. Check the miniature roses regularly to make sure they are doing ok. I check mine daily; look under the leaves for any bugs; check the moisture in the soil; enjoy that one little rose you left on. I do!
Charlotte

